Restoring a Greenhouse - Part 1
Earlier this year I decided it was there was no better time to have a go at repairing the overgrown wooden greenhouse at the bottom of my garden. My grandfather bought it second hand in the 1950’s so it’s possible that it is apporaching 100 years old.
There are a lot of memories attached to the greenhouse having been used extensively by my grandfather for growing tomatoes, so rather than knock it down or propping it up to buy a few extra years I decided that full blown restoration was in order.
Accessing the condition
Below is an old photograph of it in it’s prime in the 1970s and as it stood when I started the project.

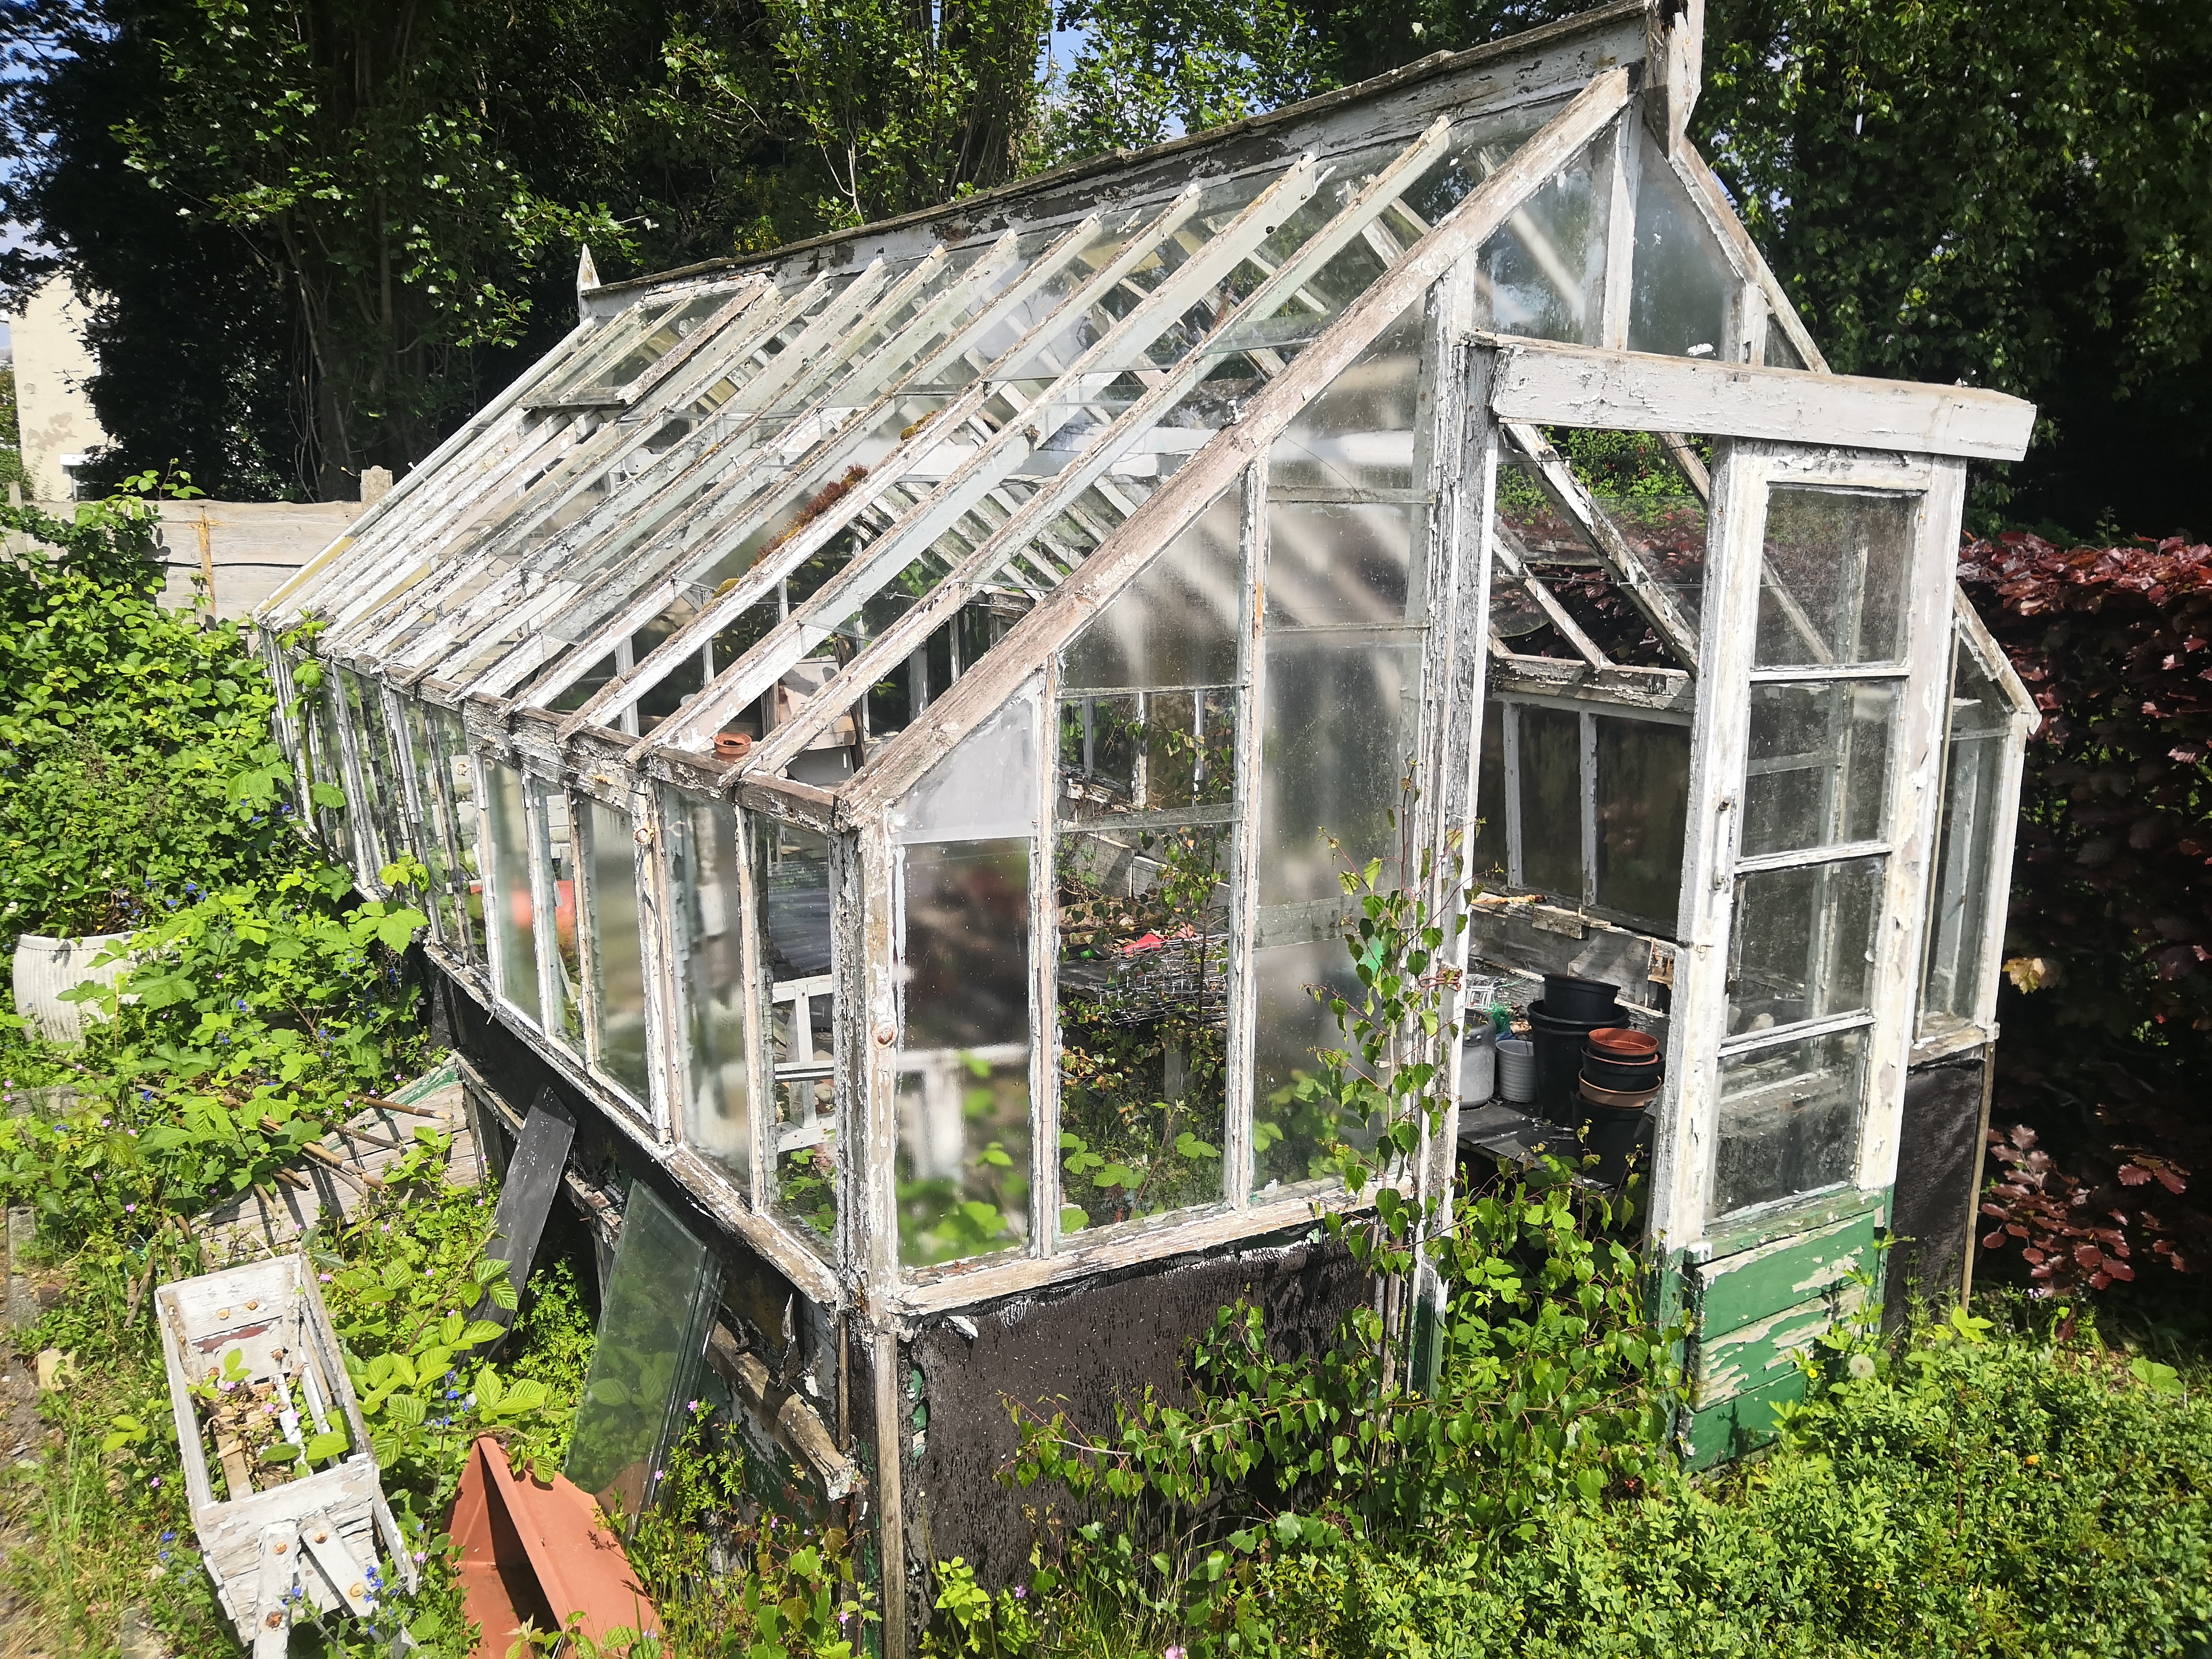
Having not been used for about 5 years and probably not repainted in 10 it had certainly seen better days. On initial inspection it was clear that there was rotten wood in several places, many of the glass panels were broken or missing and there was a large amount of weeds and shrubs growing inside. However, the major issue was that the left side was leaning outwards and some of the roofing slats were warped.
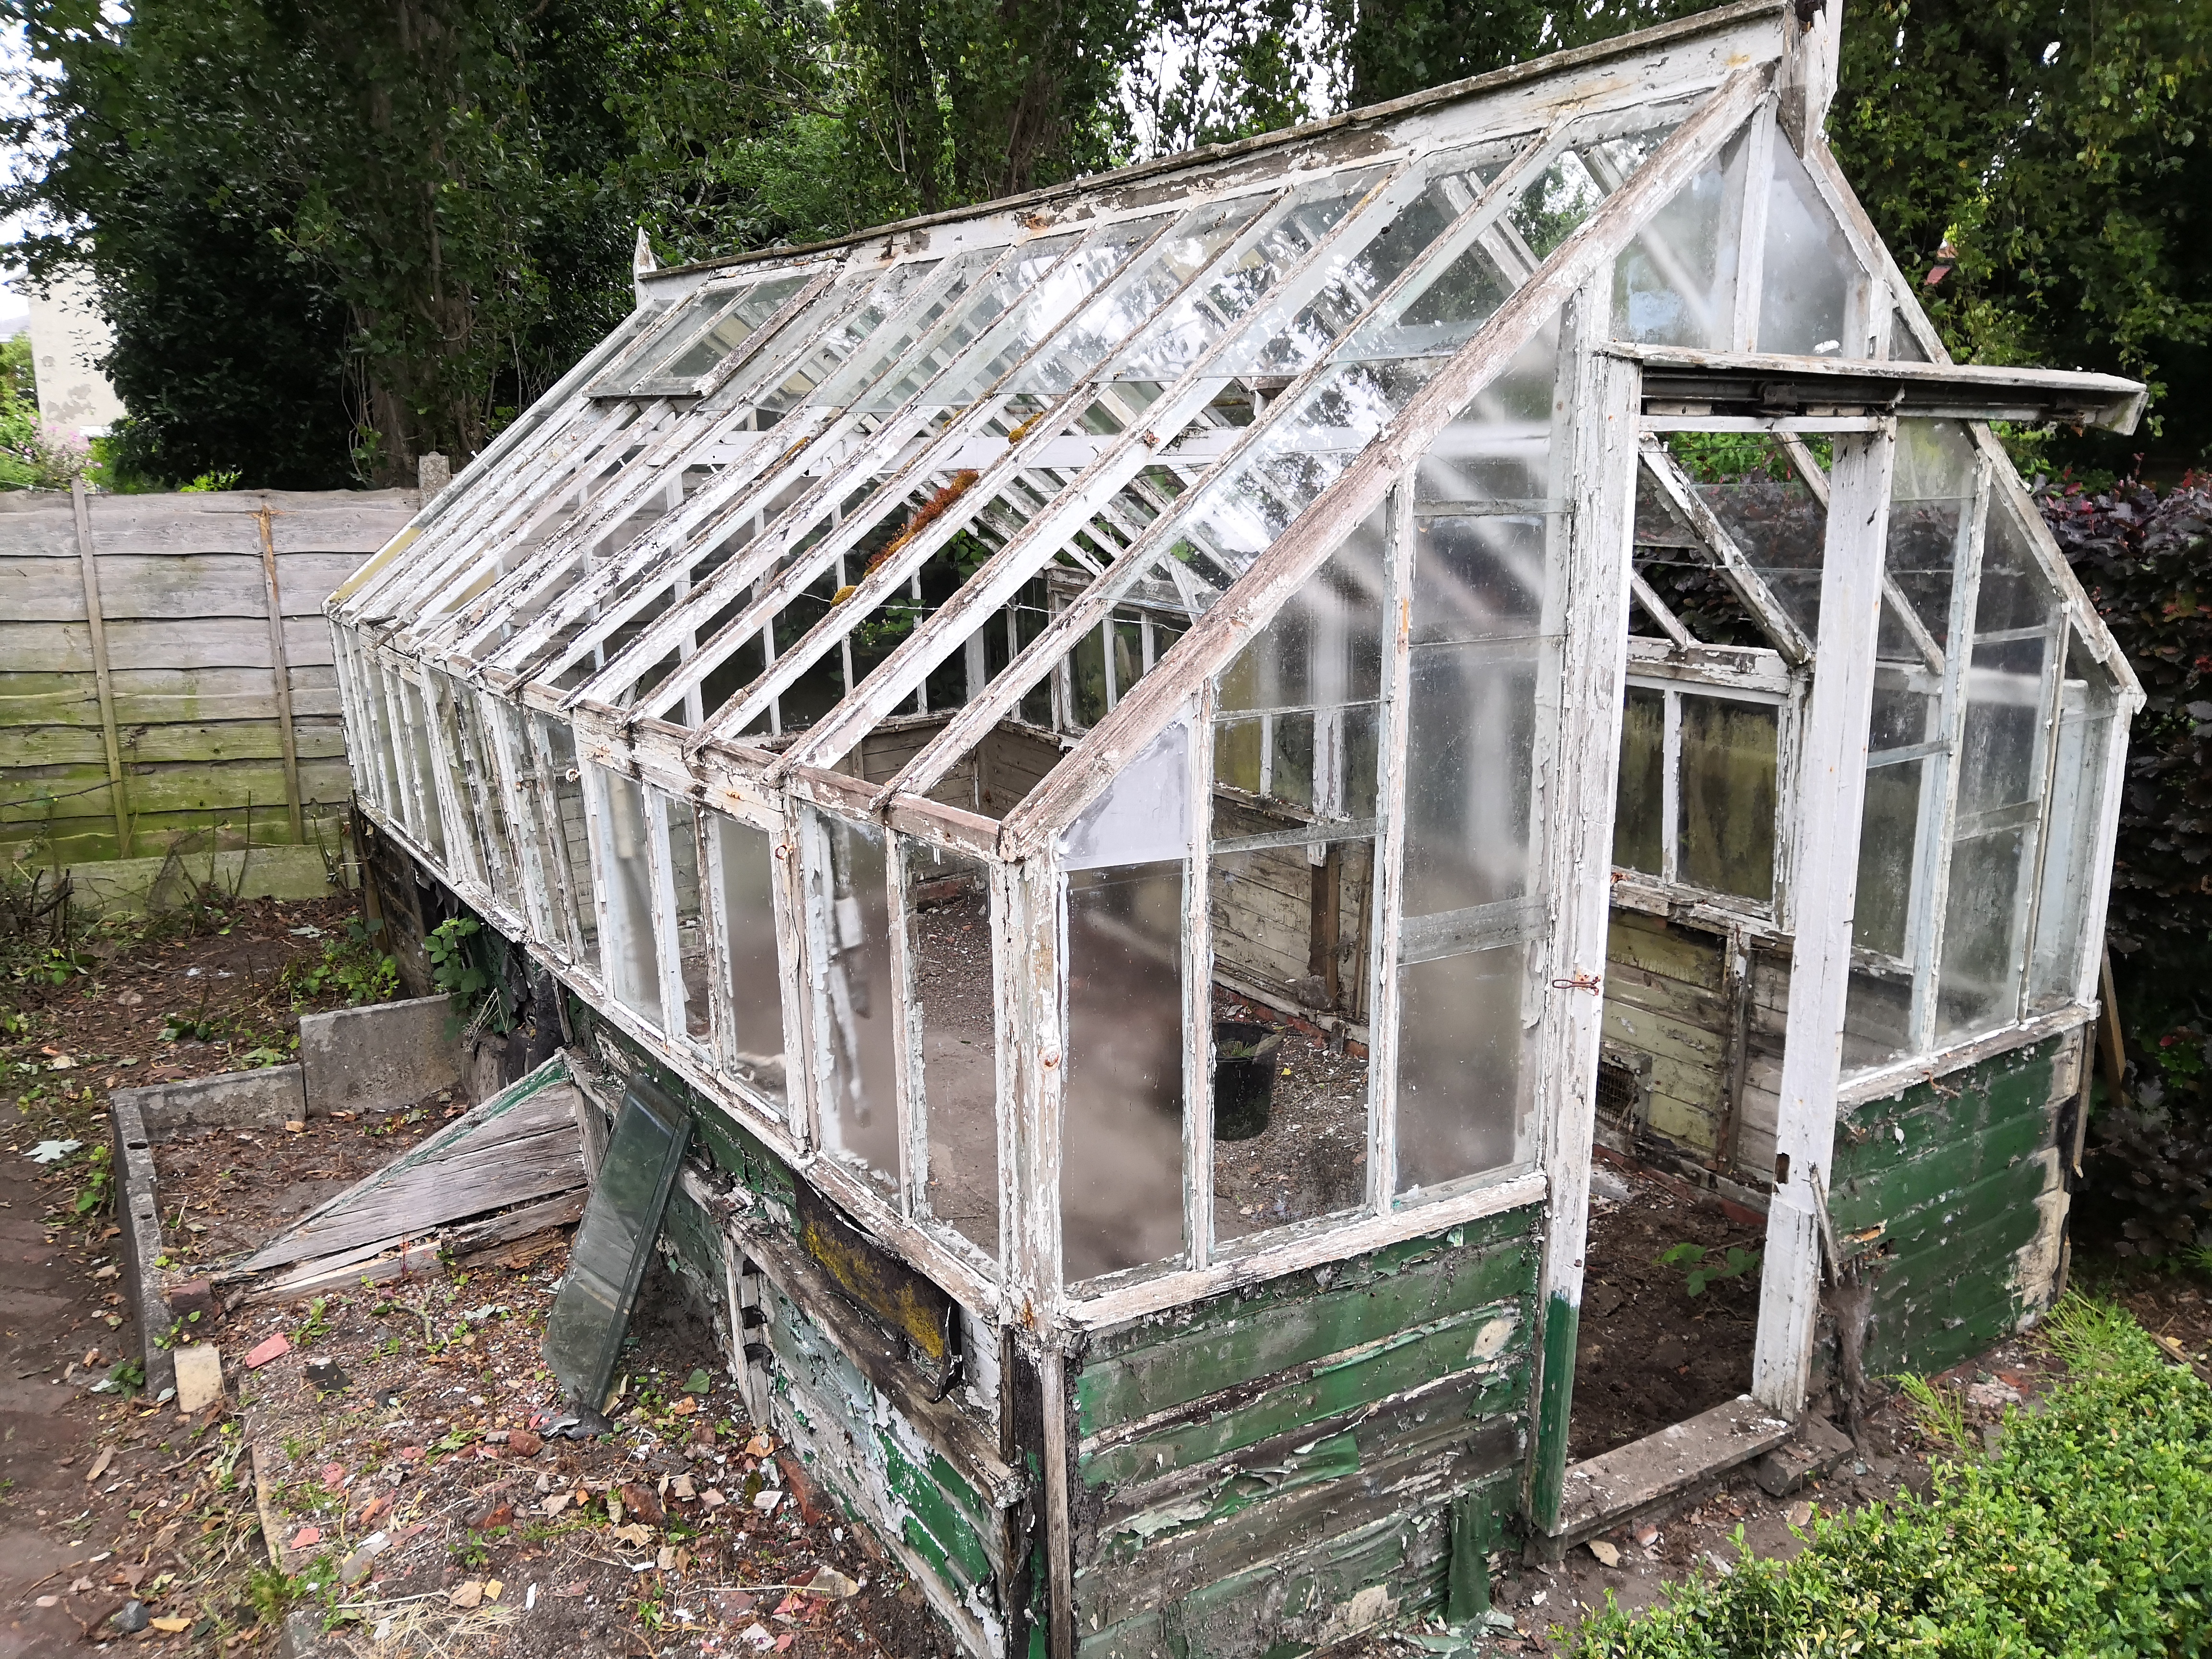
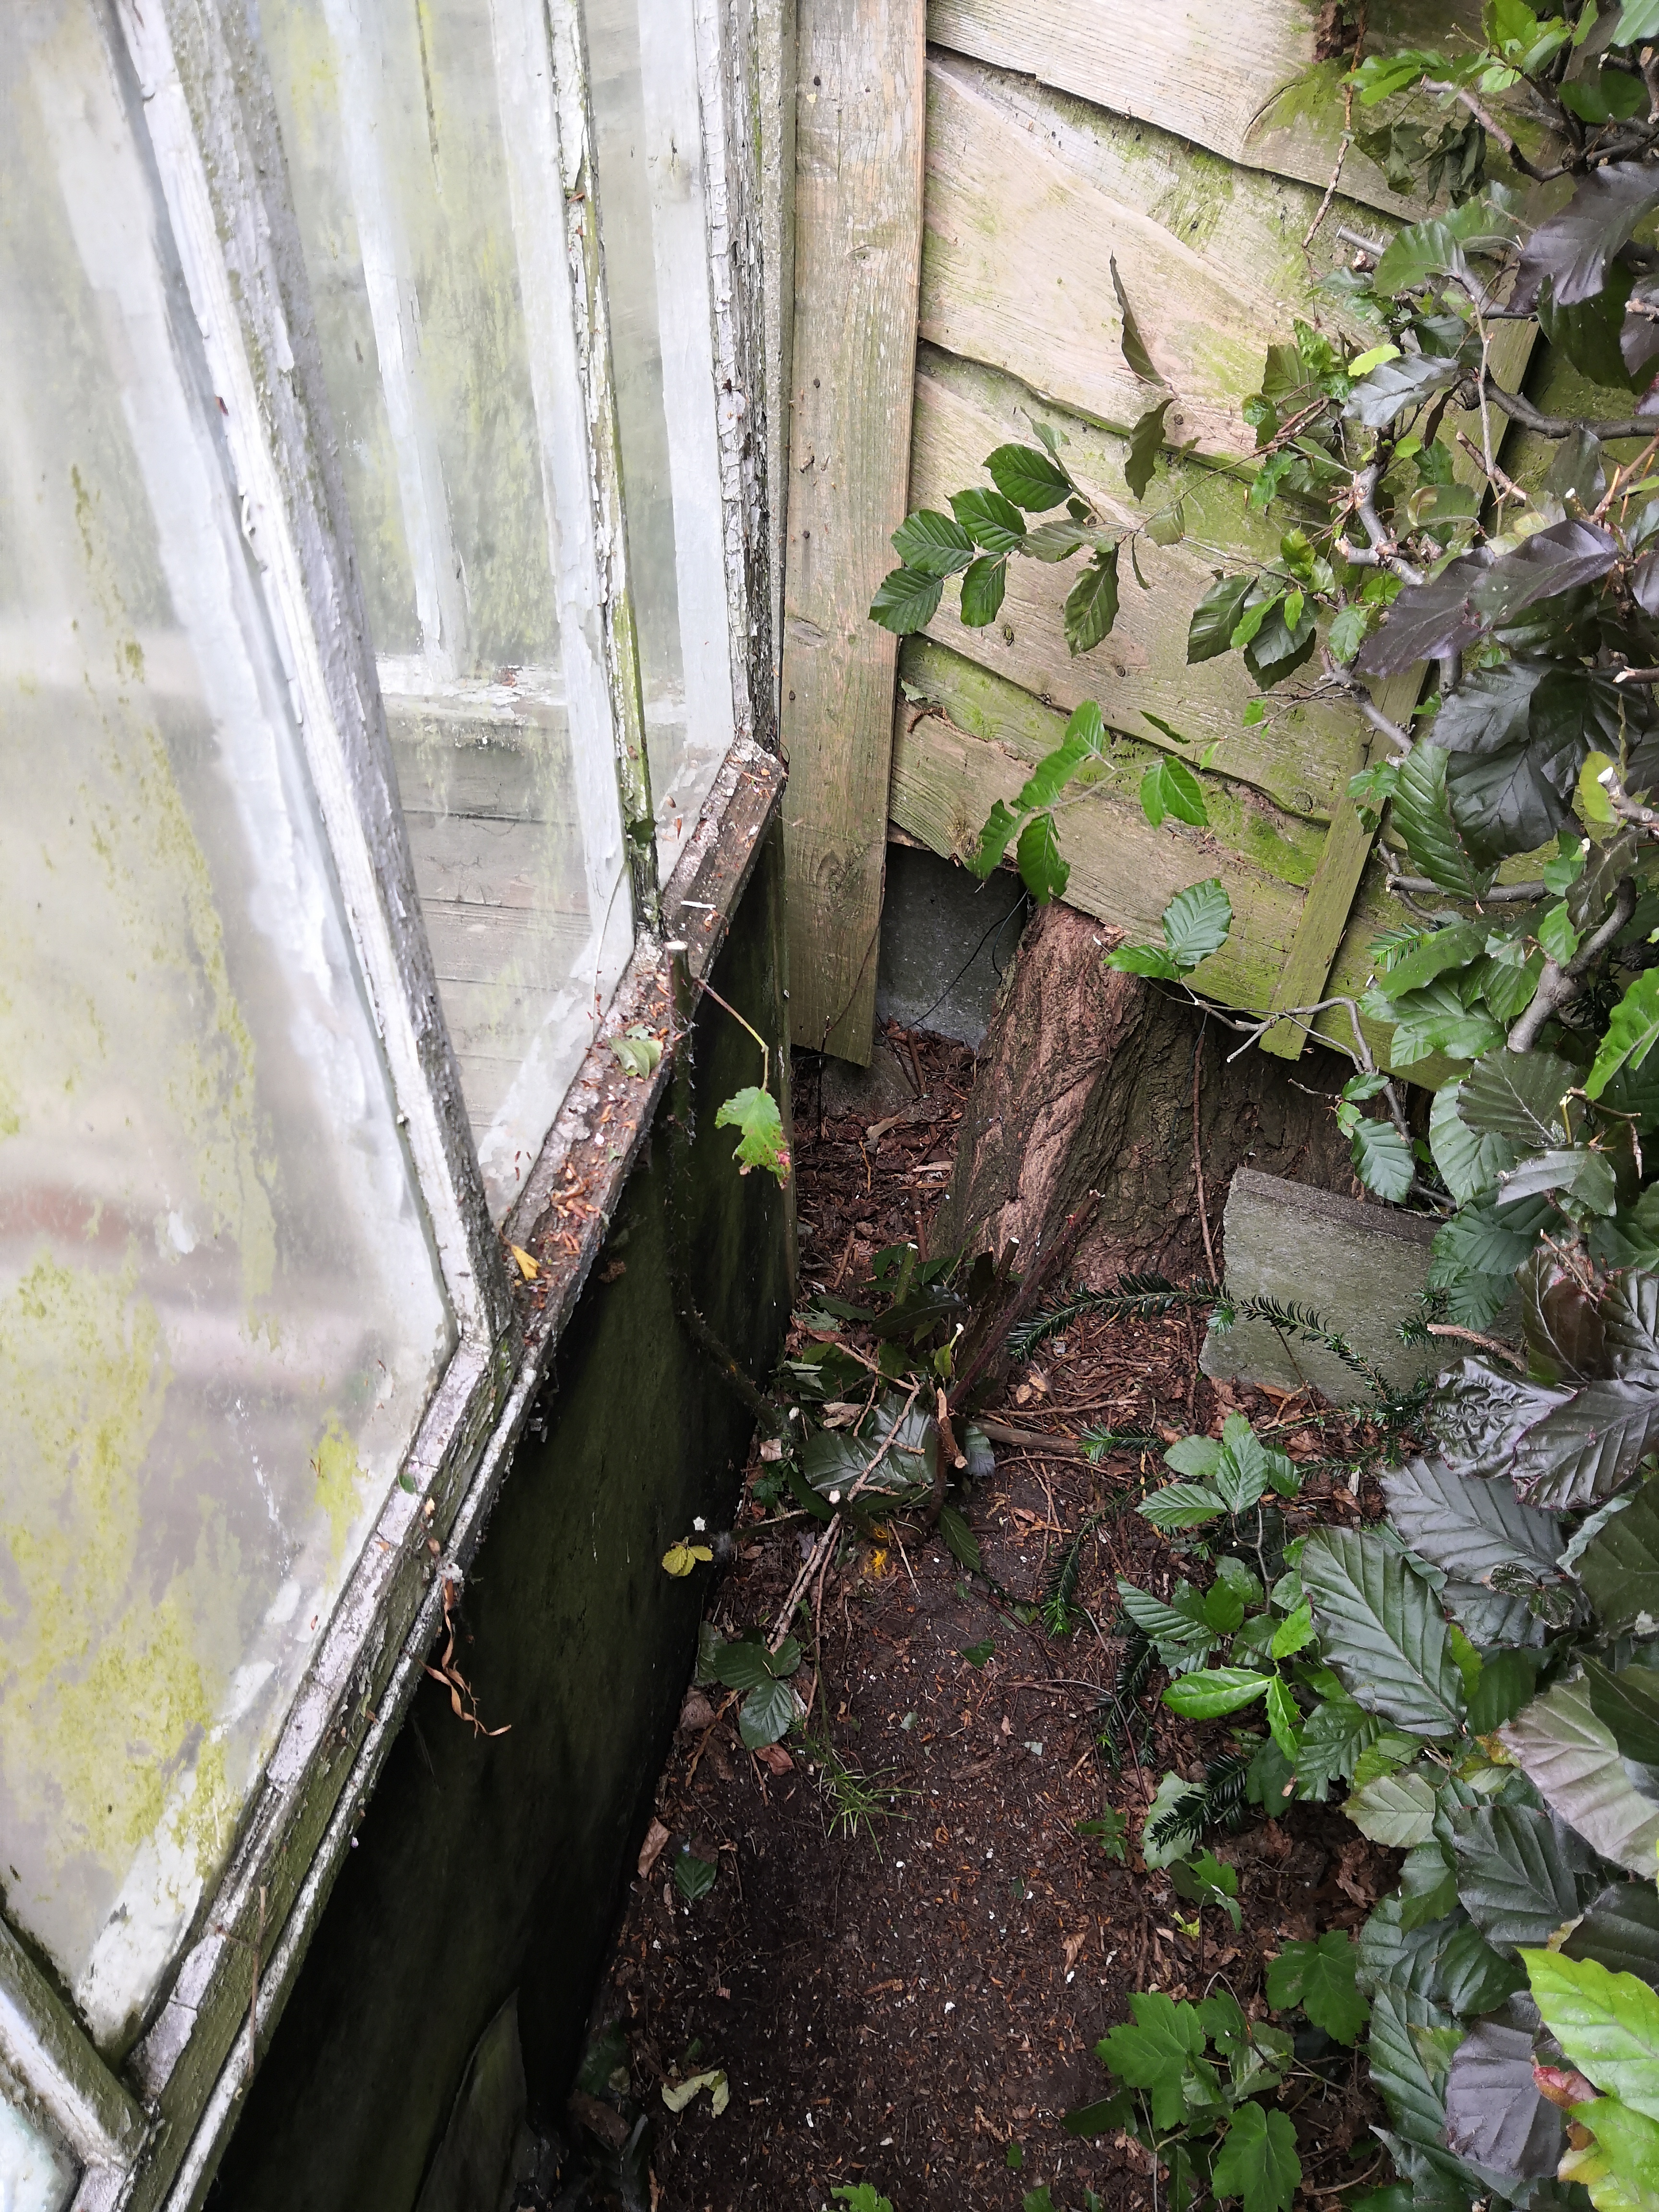
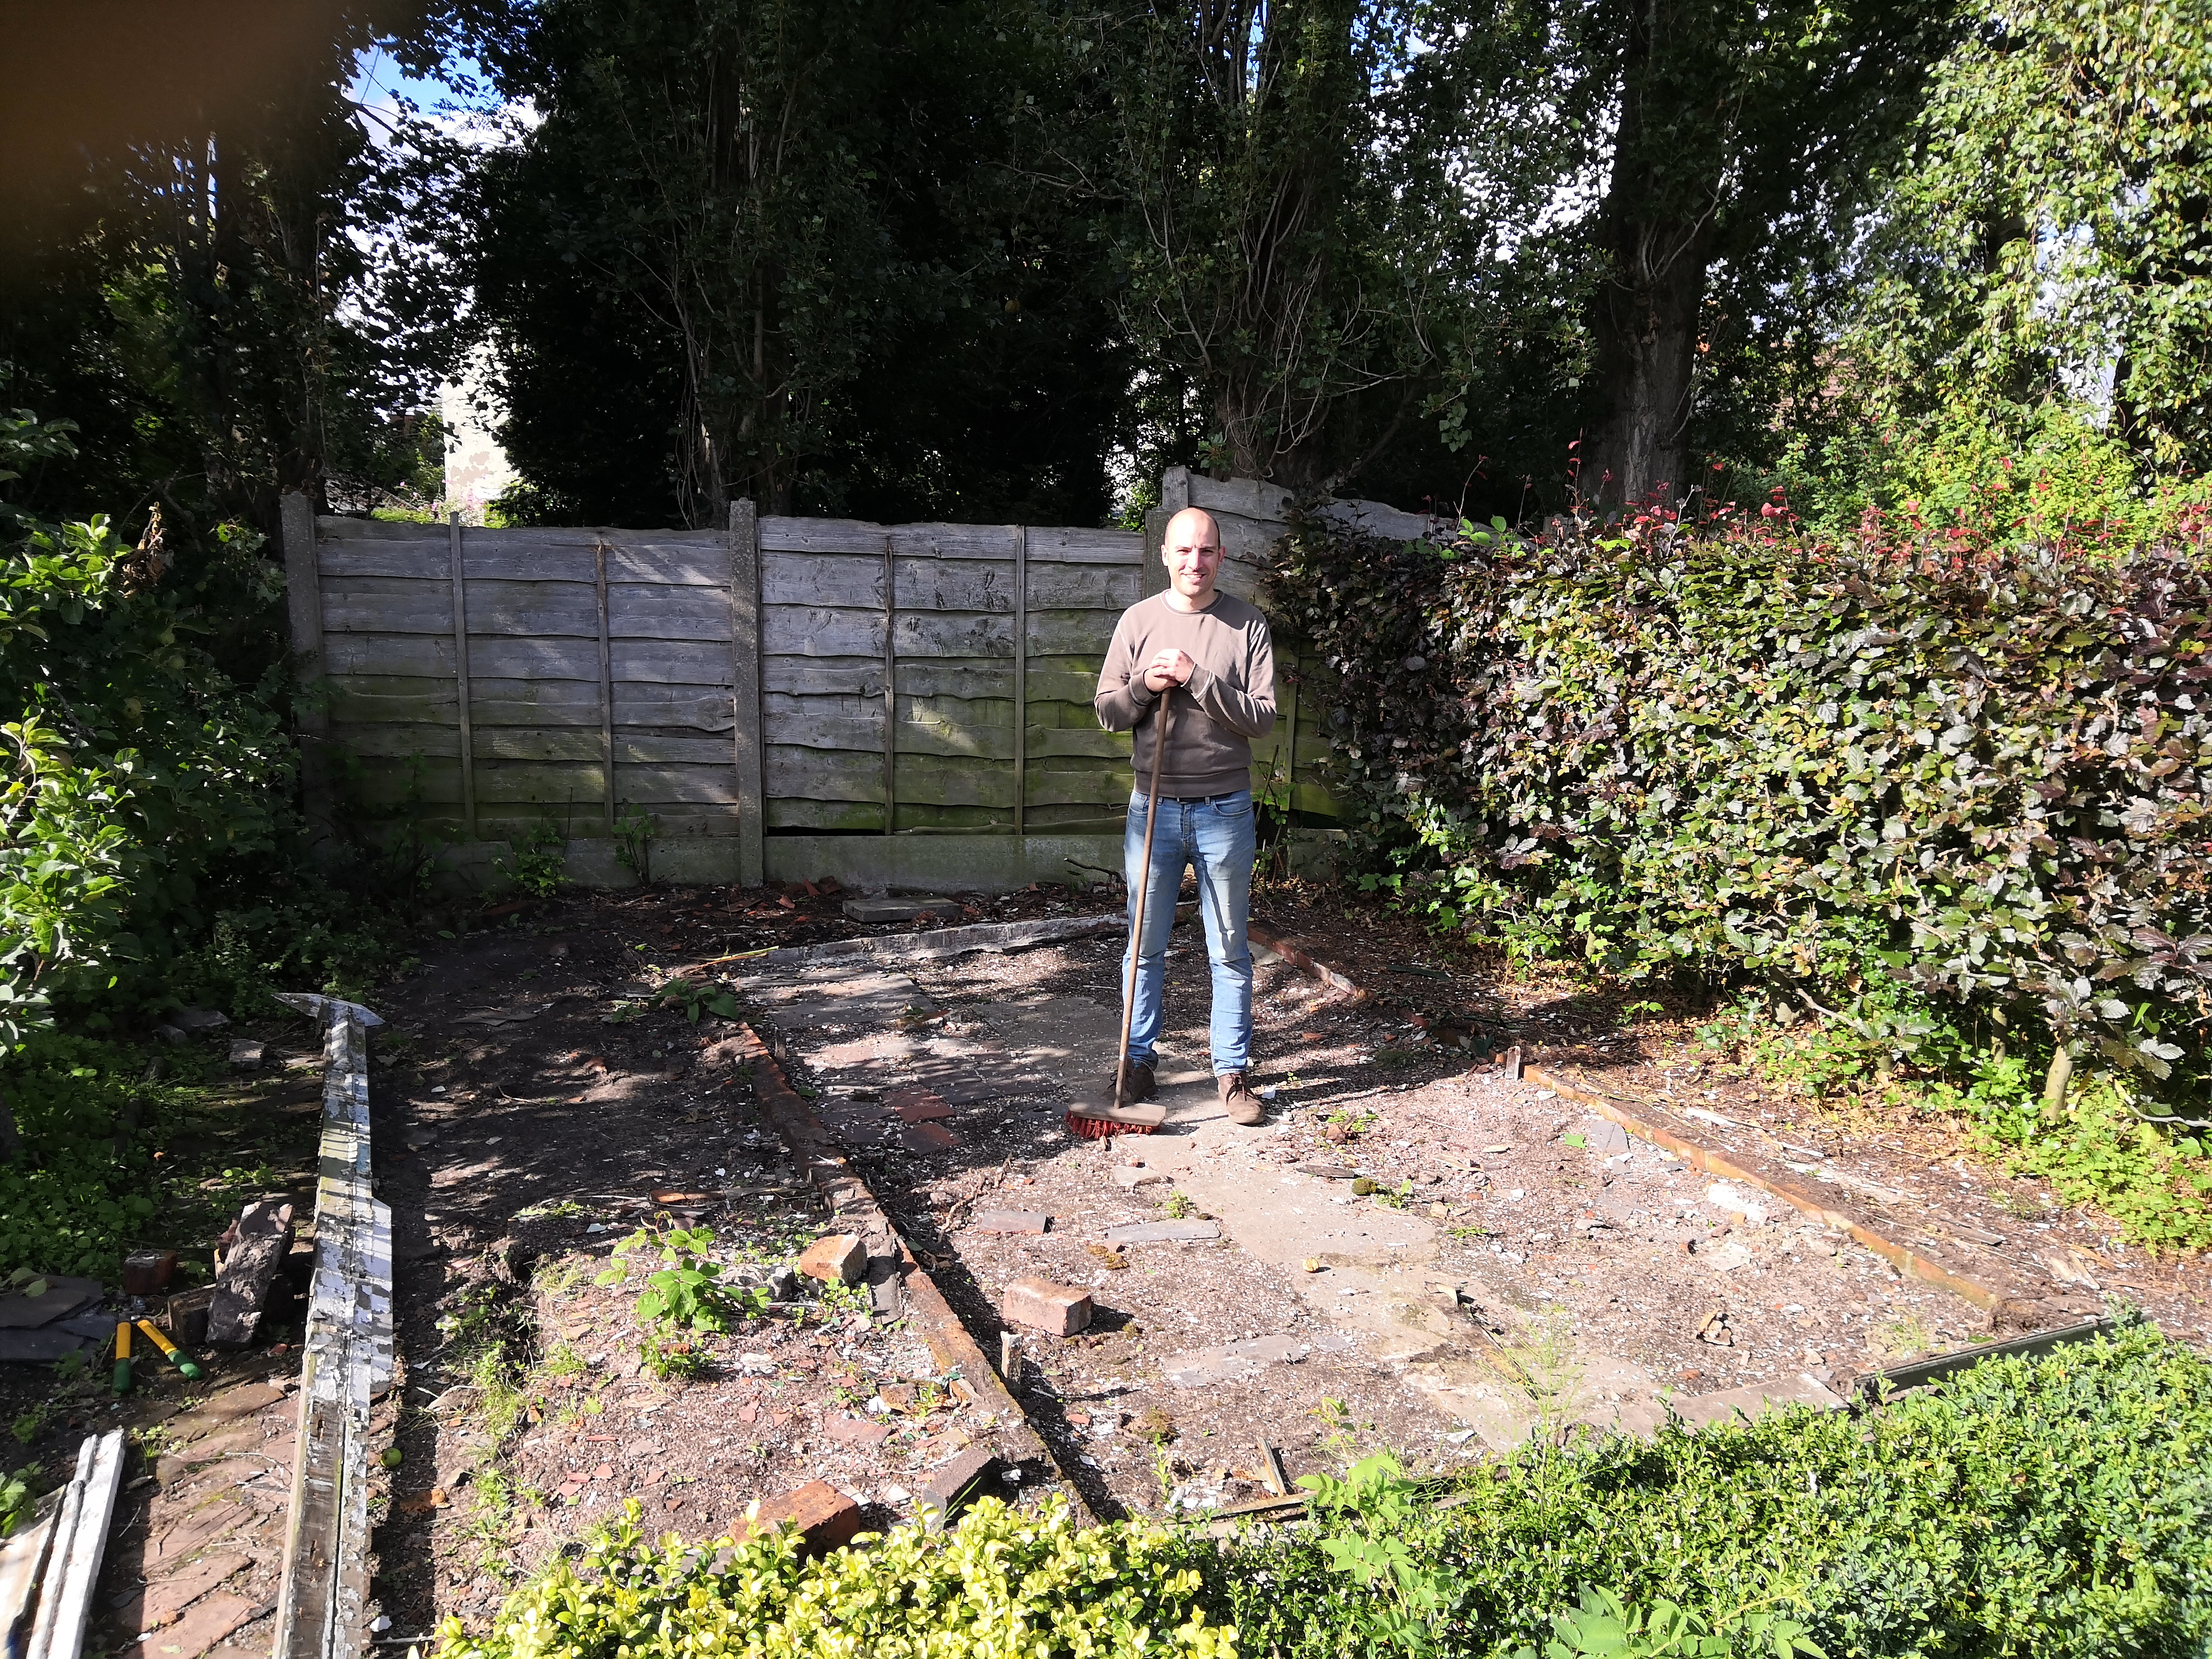
In order to find out the real cause of the wonkiness we needed to clear out everything inside and the overgrowth around it.
| Before Clearing | After Clearing |
|  |
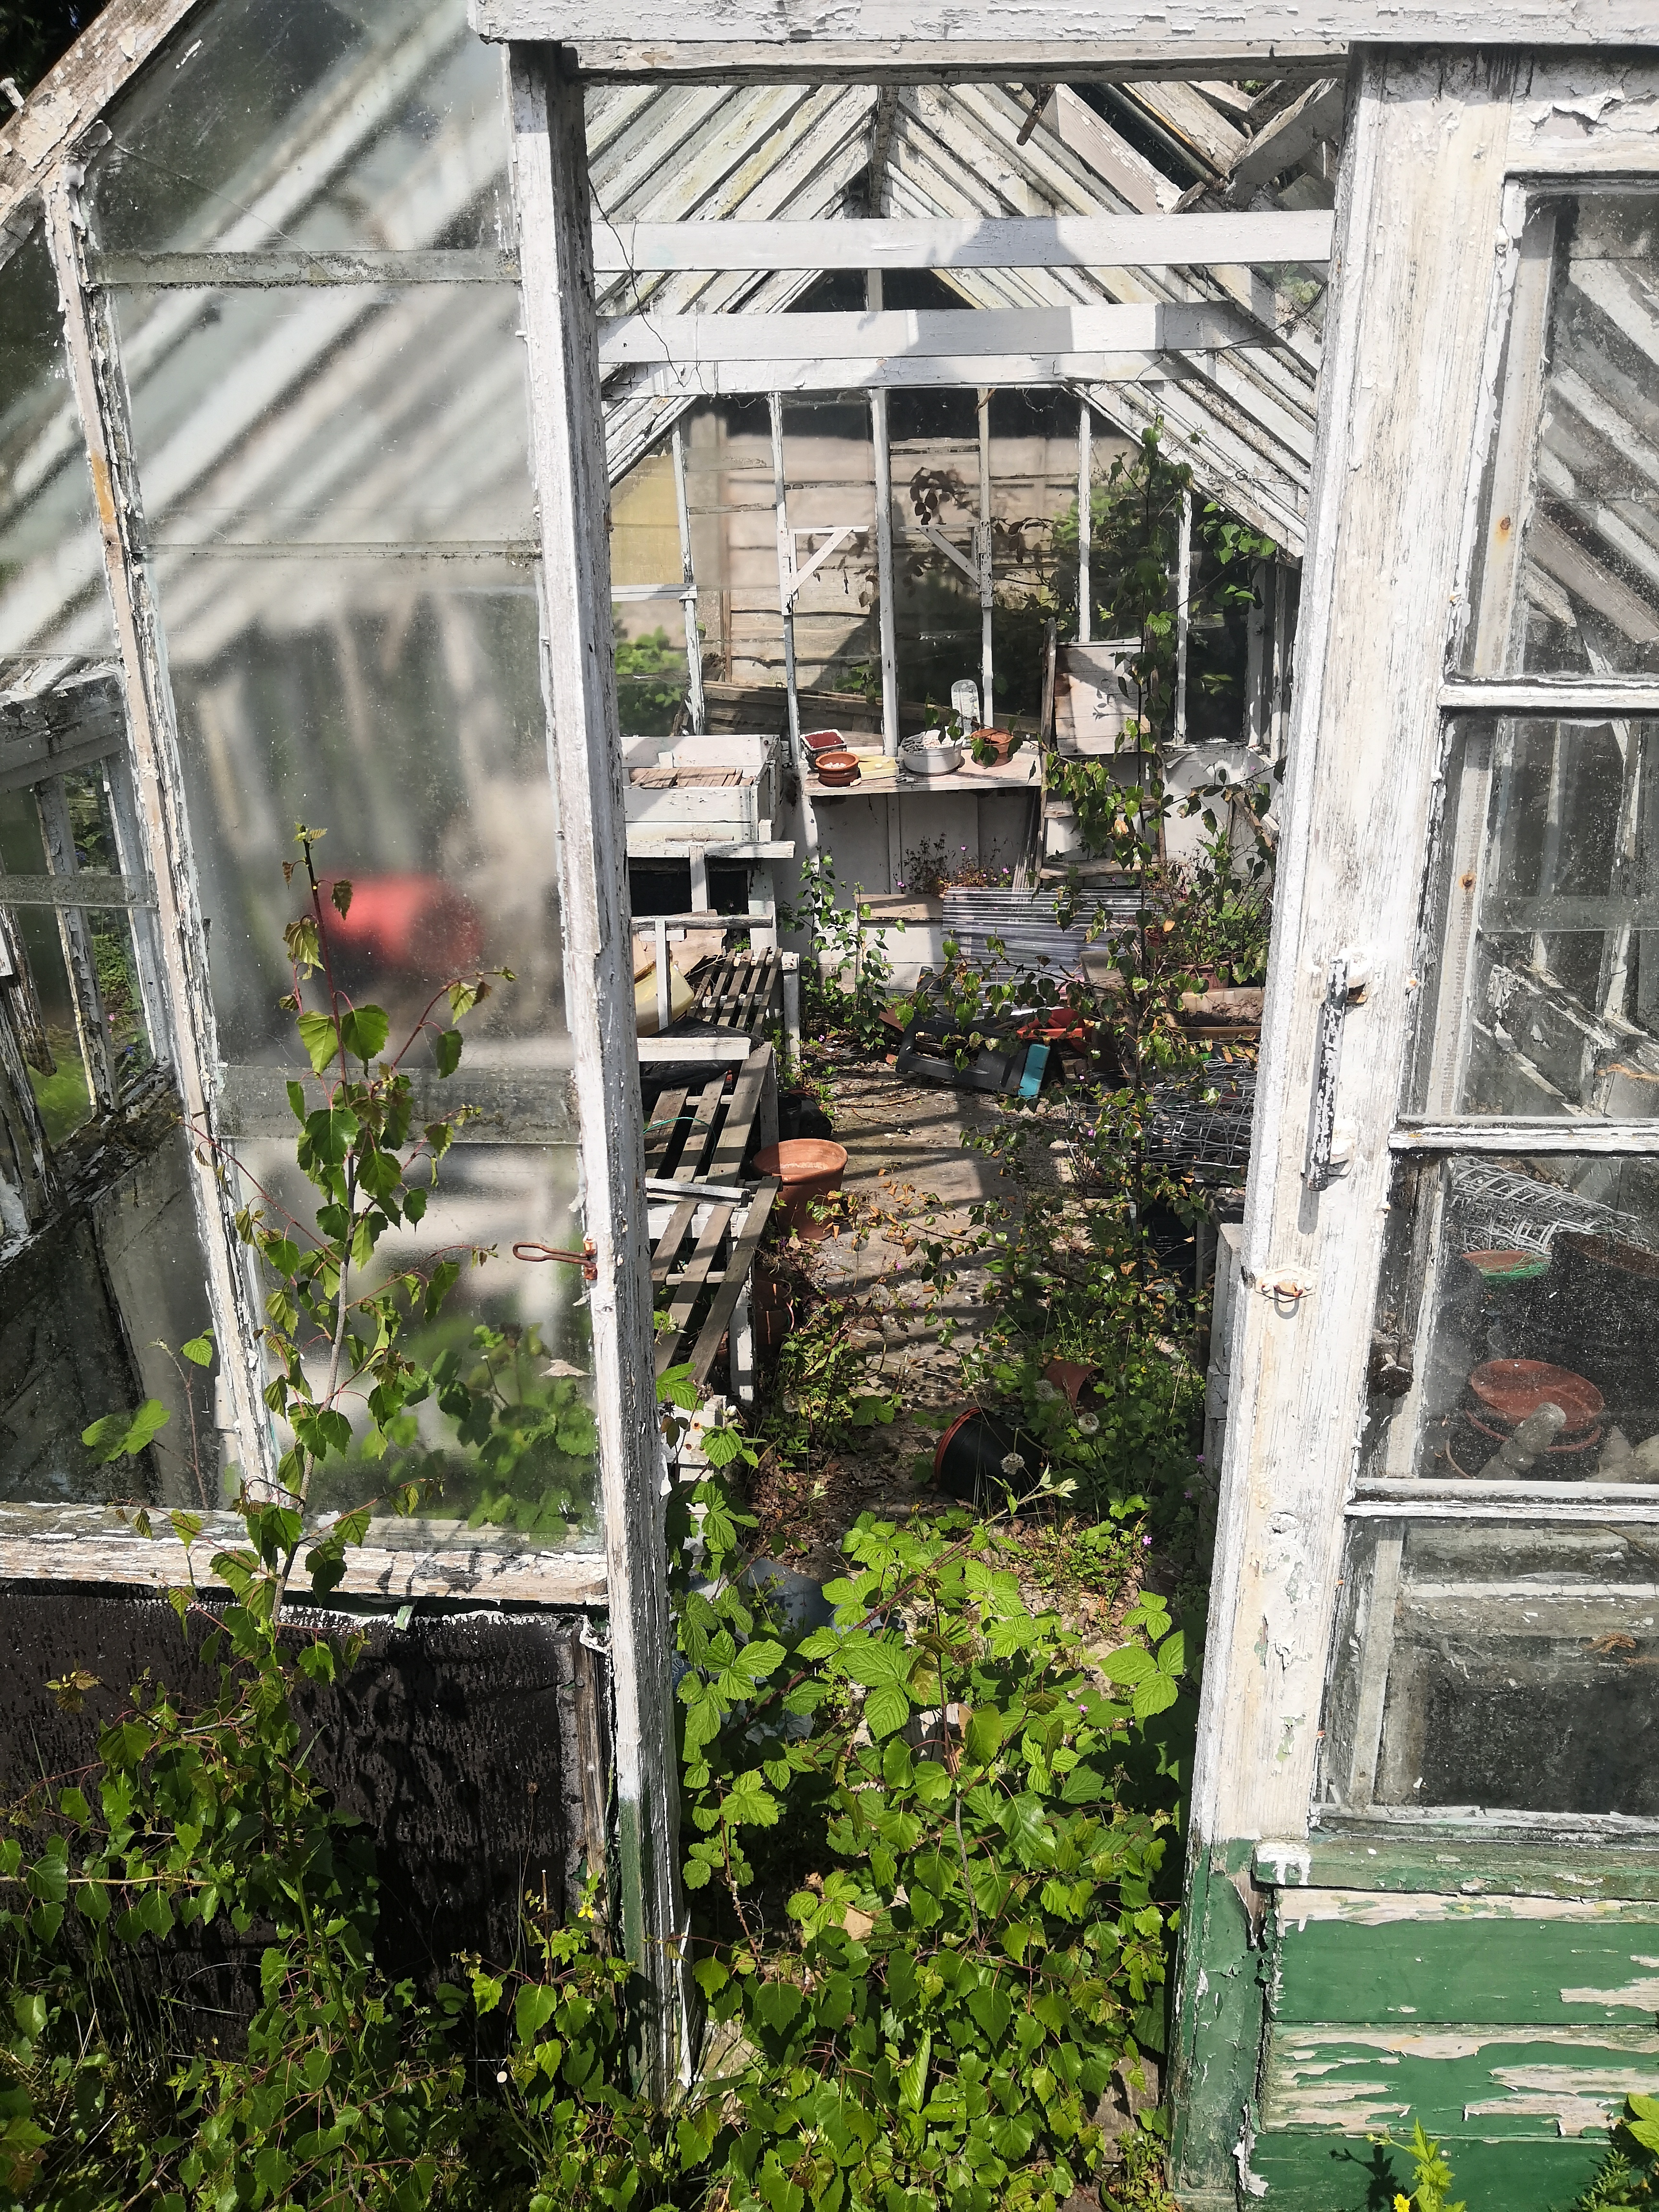 | 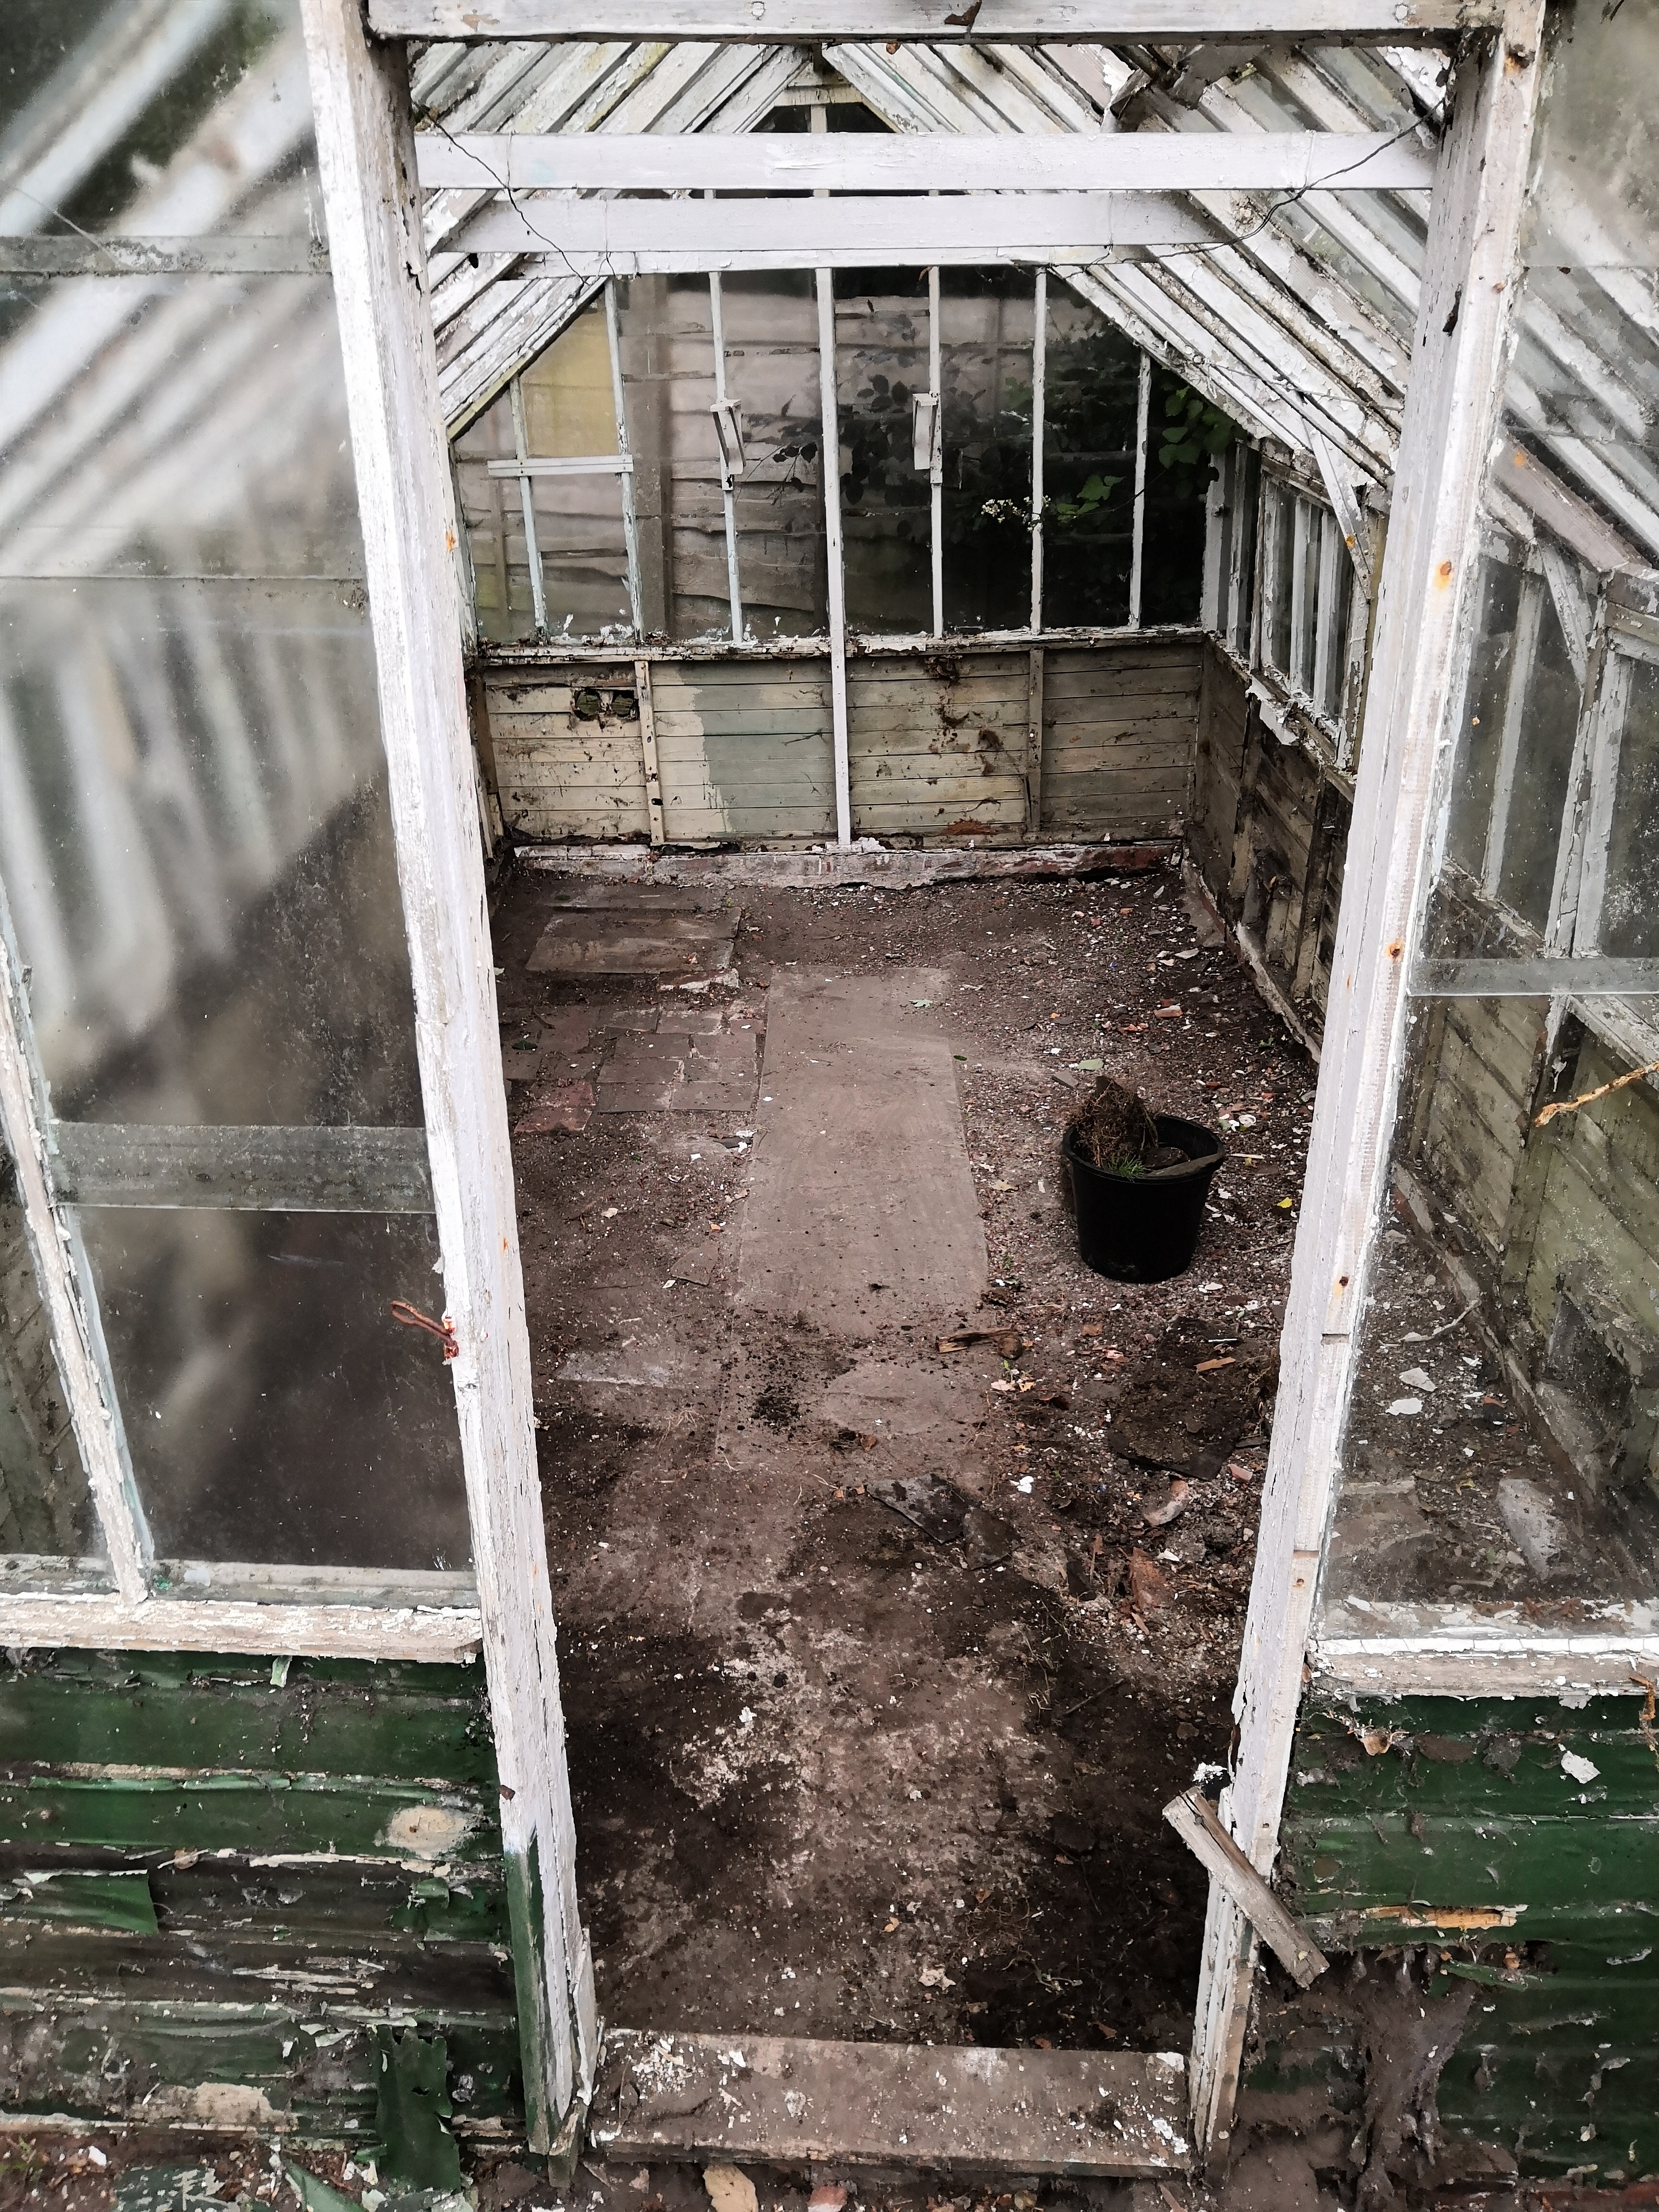 |
After clearing out the inside it became clear that the tree roots of a nearby Poplar had lifted the foundation and caused the entire structure to be out of shape.
The Teardown
Having seen that the foudnations were uneven it was decided that the structure would have to come down and be rebuilt with new foundations; a mammoth task but surely worth it when it’s finished. So I began the task of careful taking the structure apart.
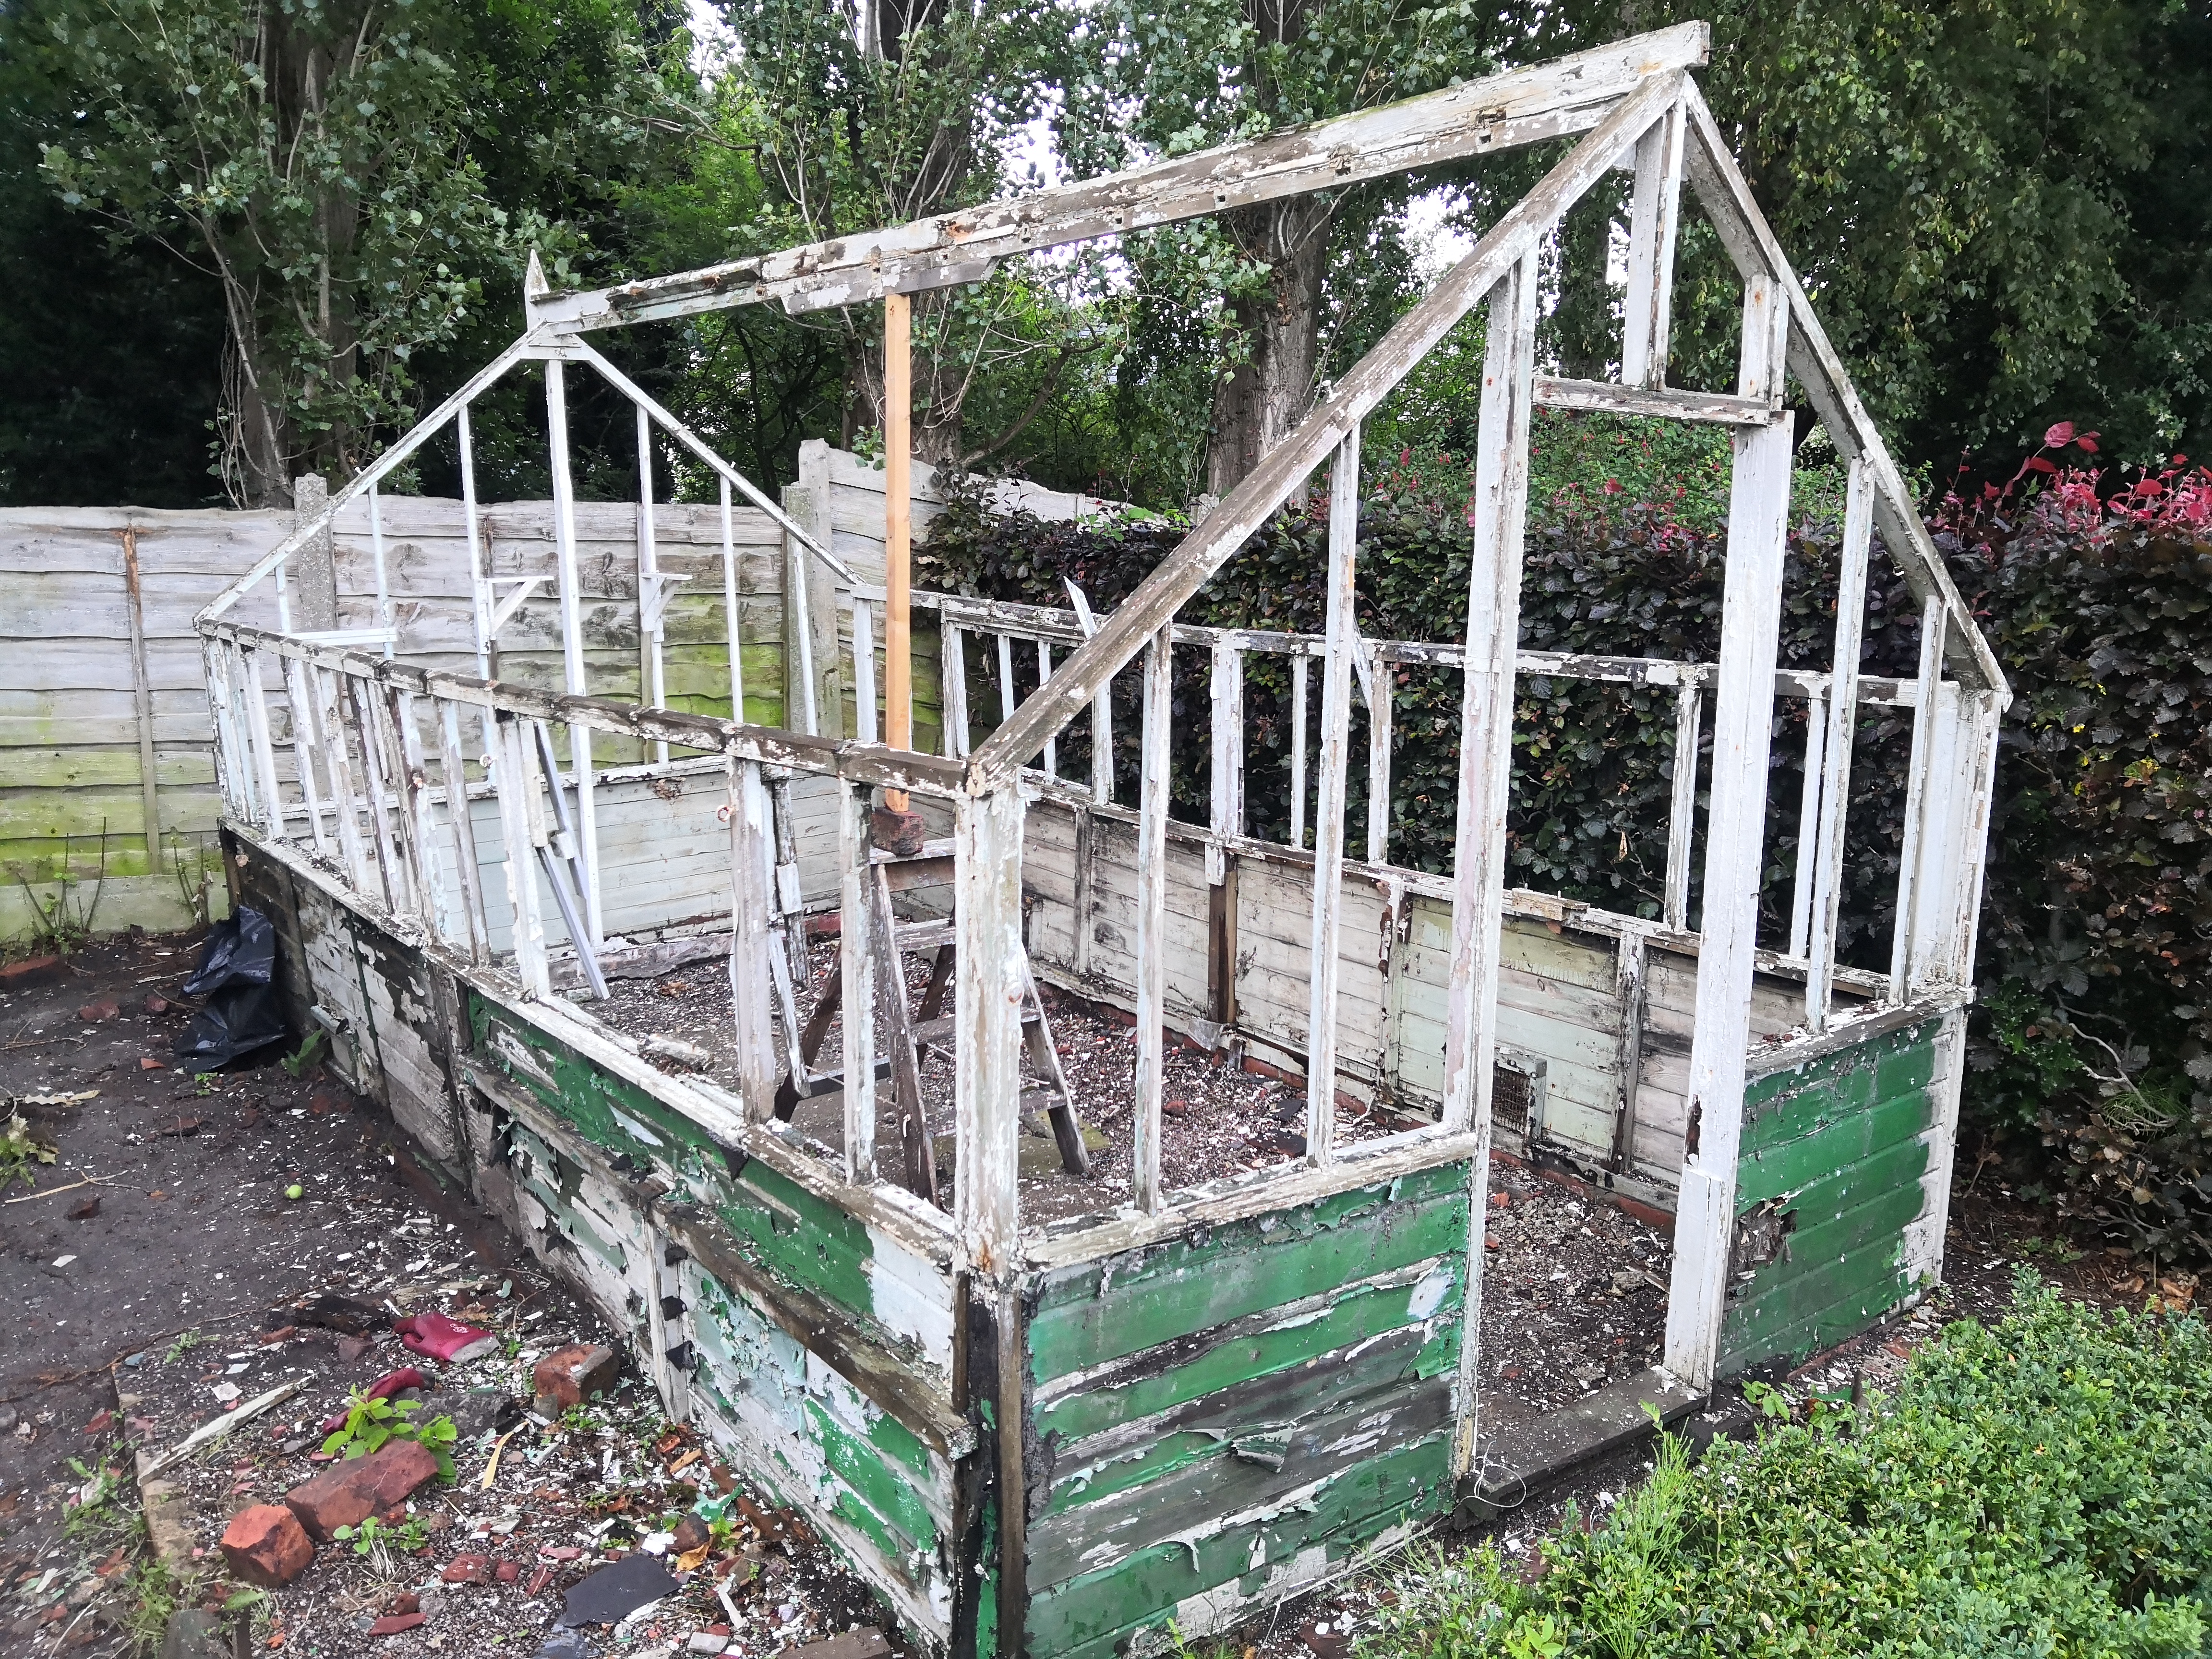 | 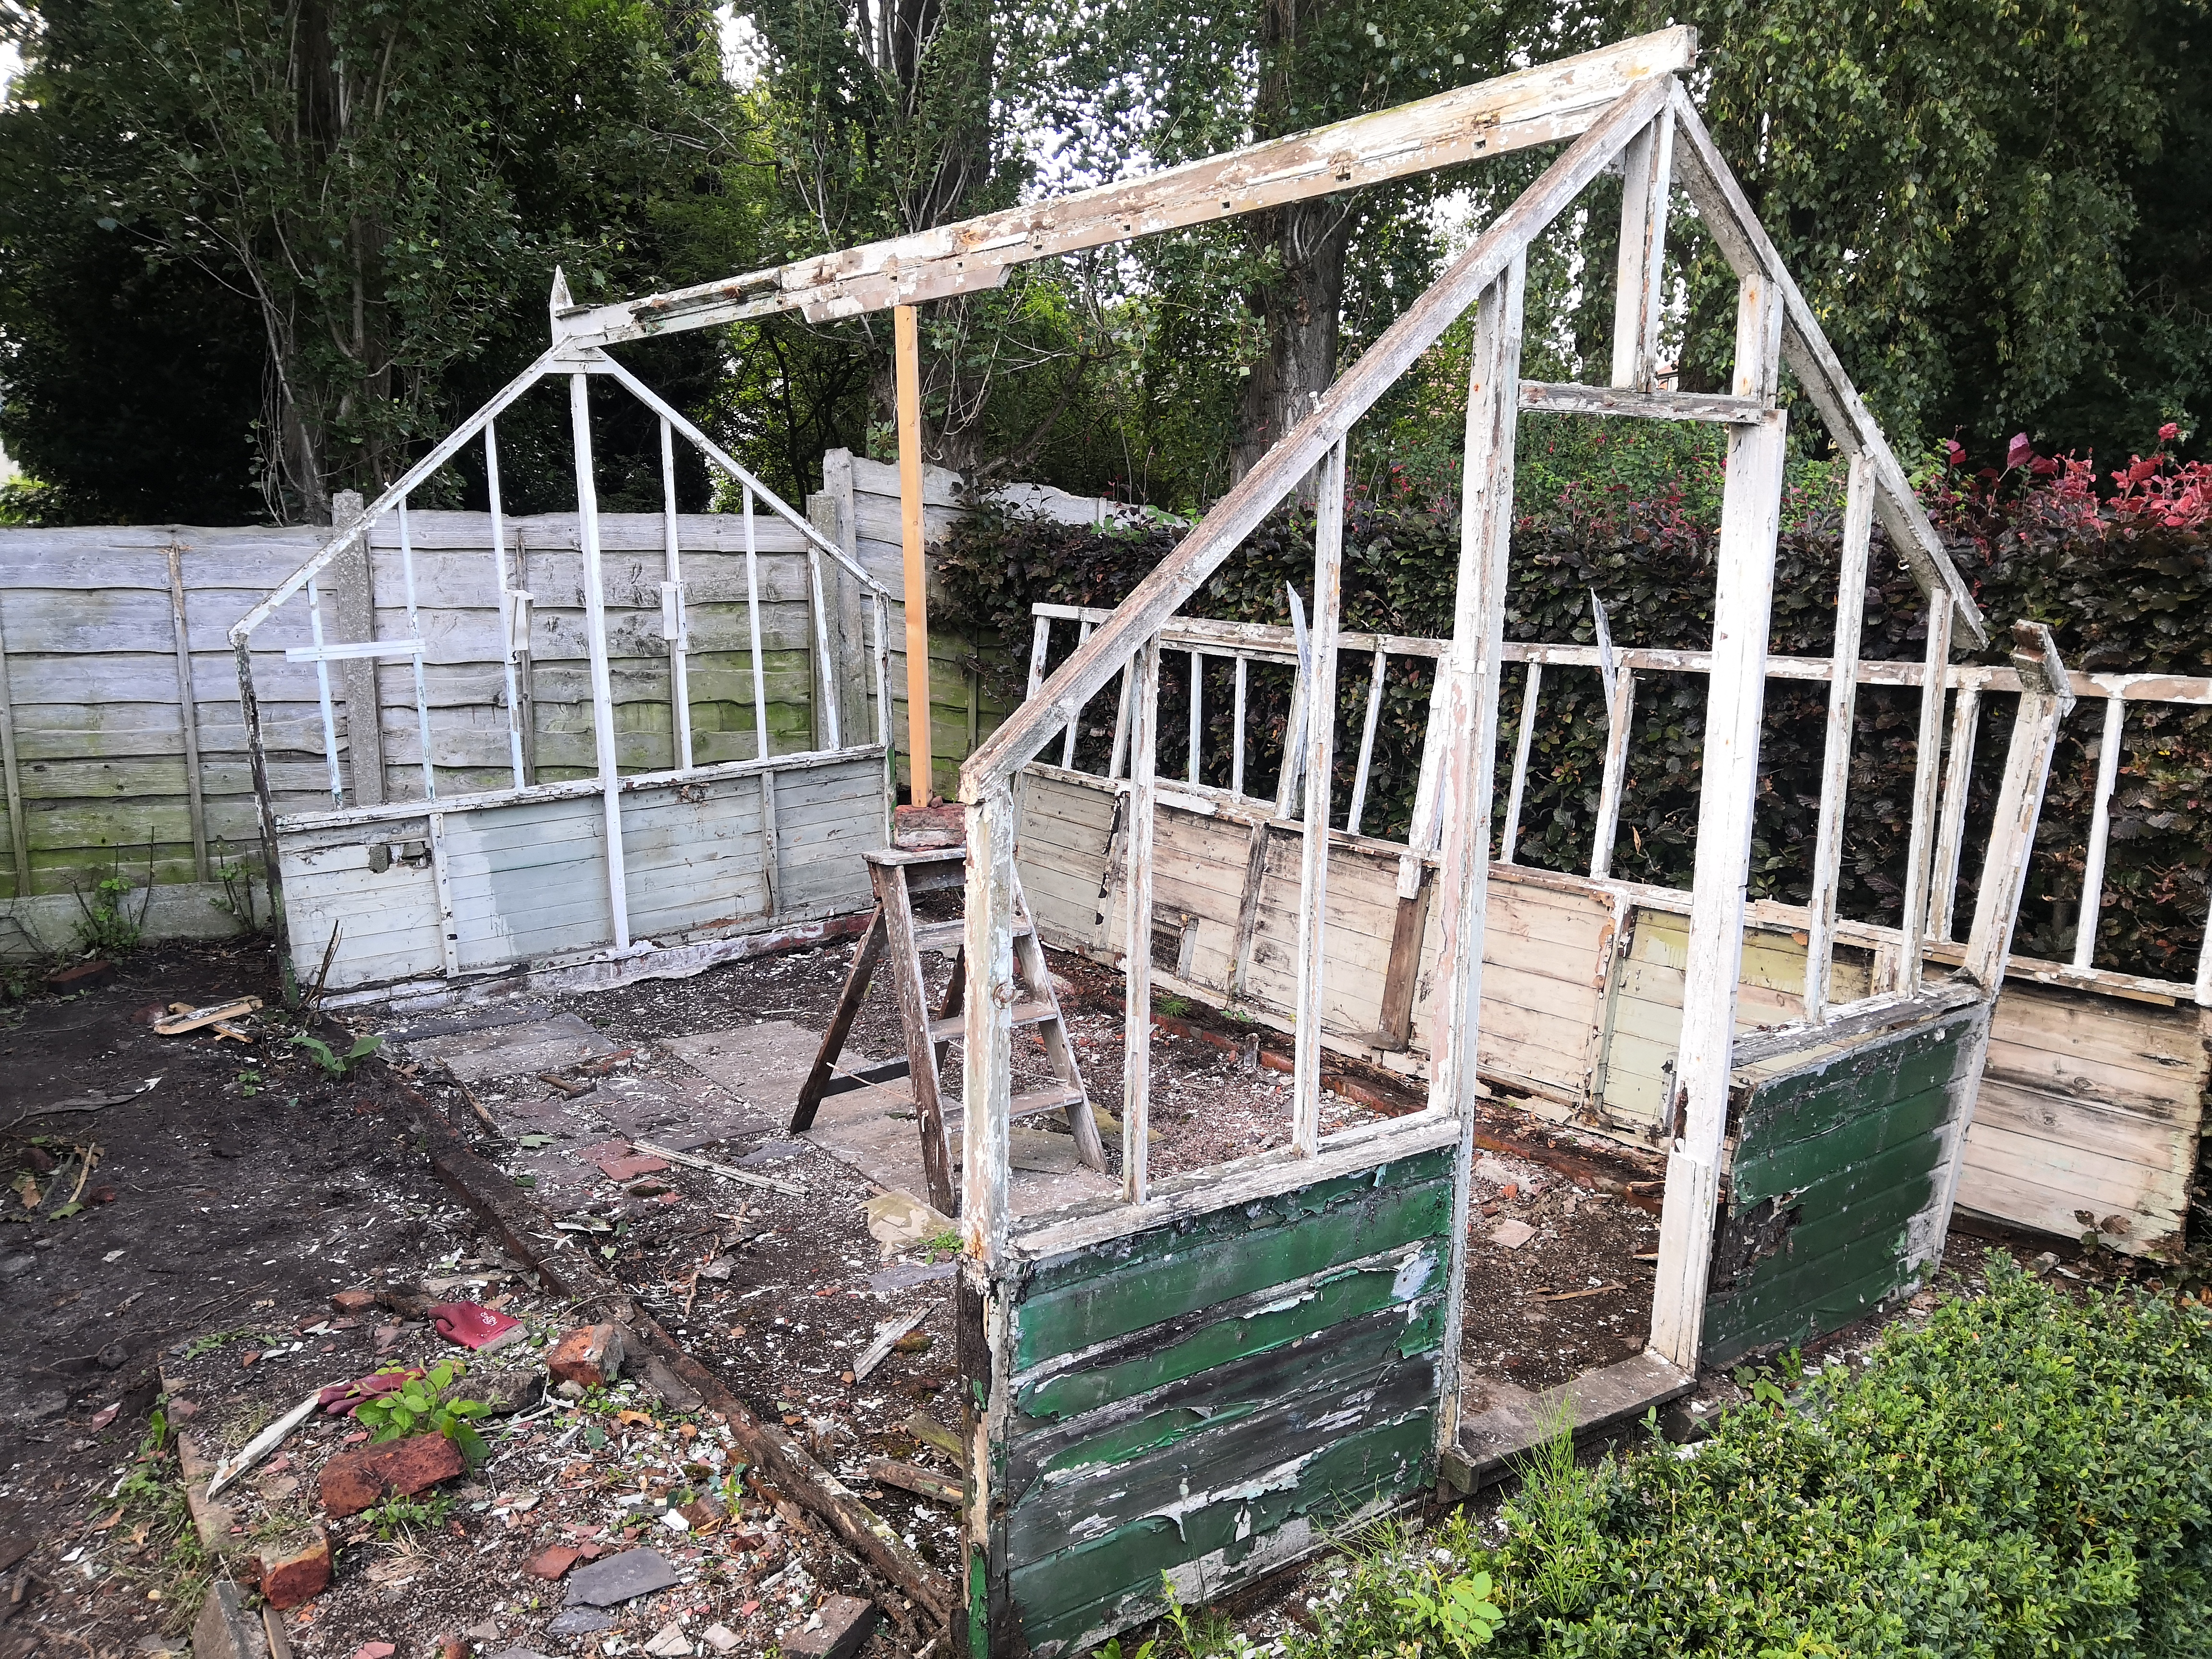 |
The glass and roofing slats were easy enough to take apart, but taking the sides apart required removing some heavily corroded coach bolts.
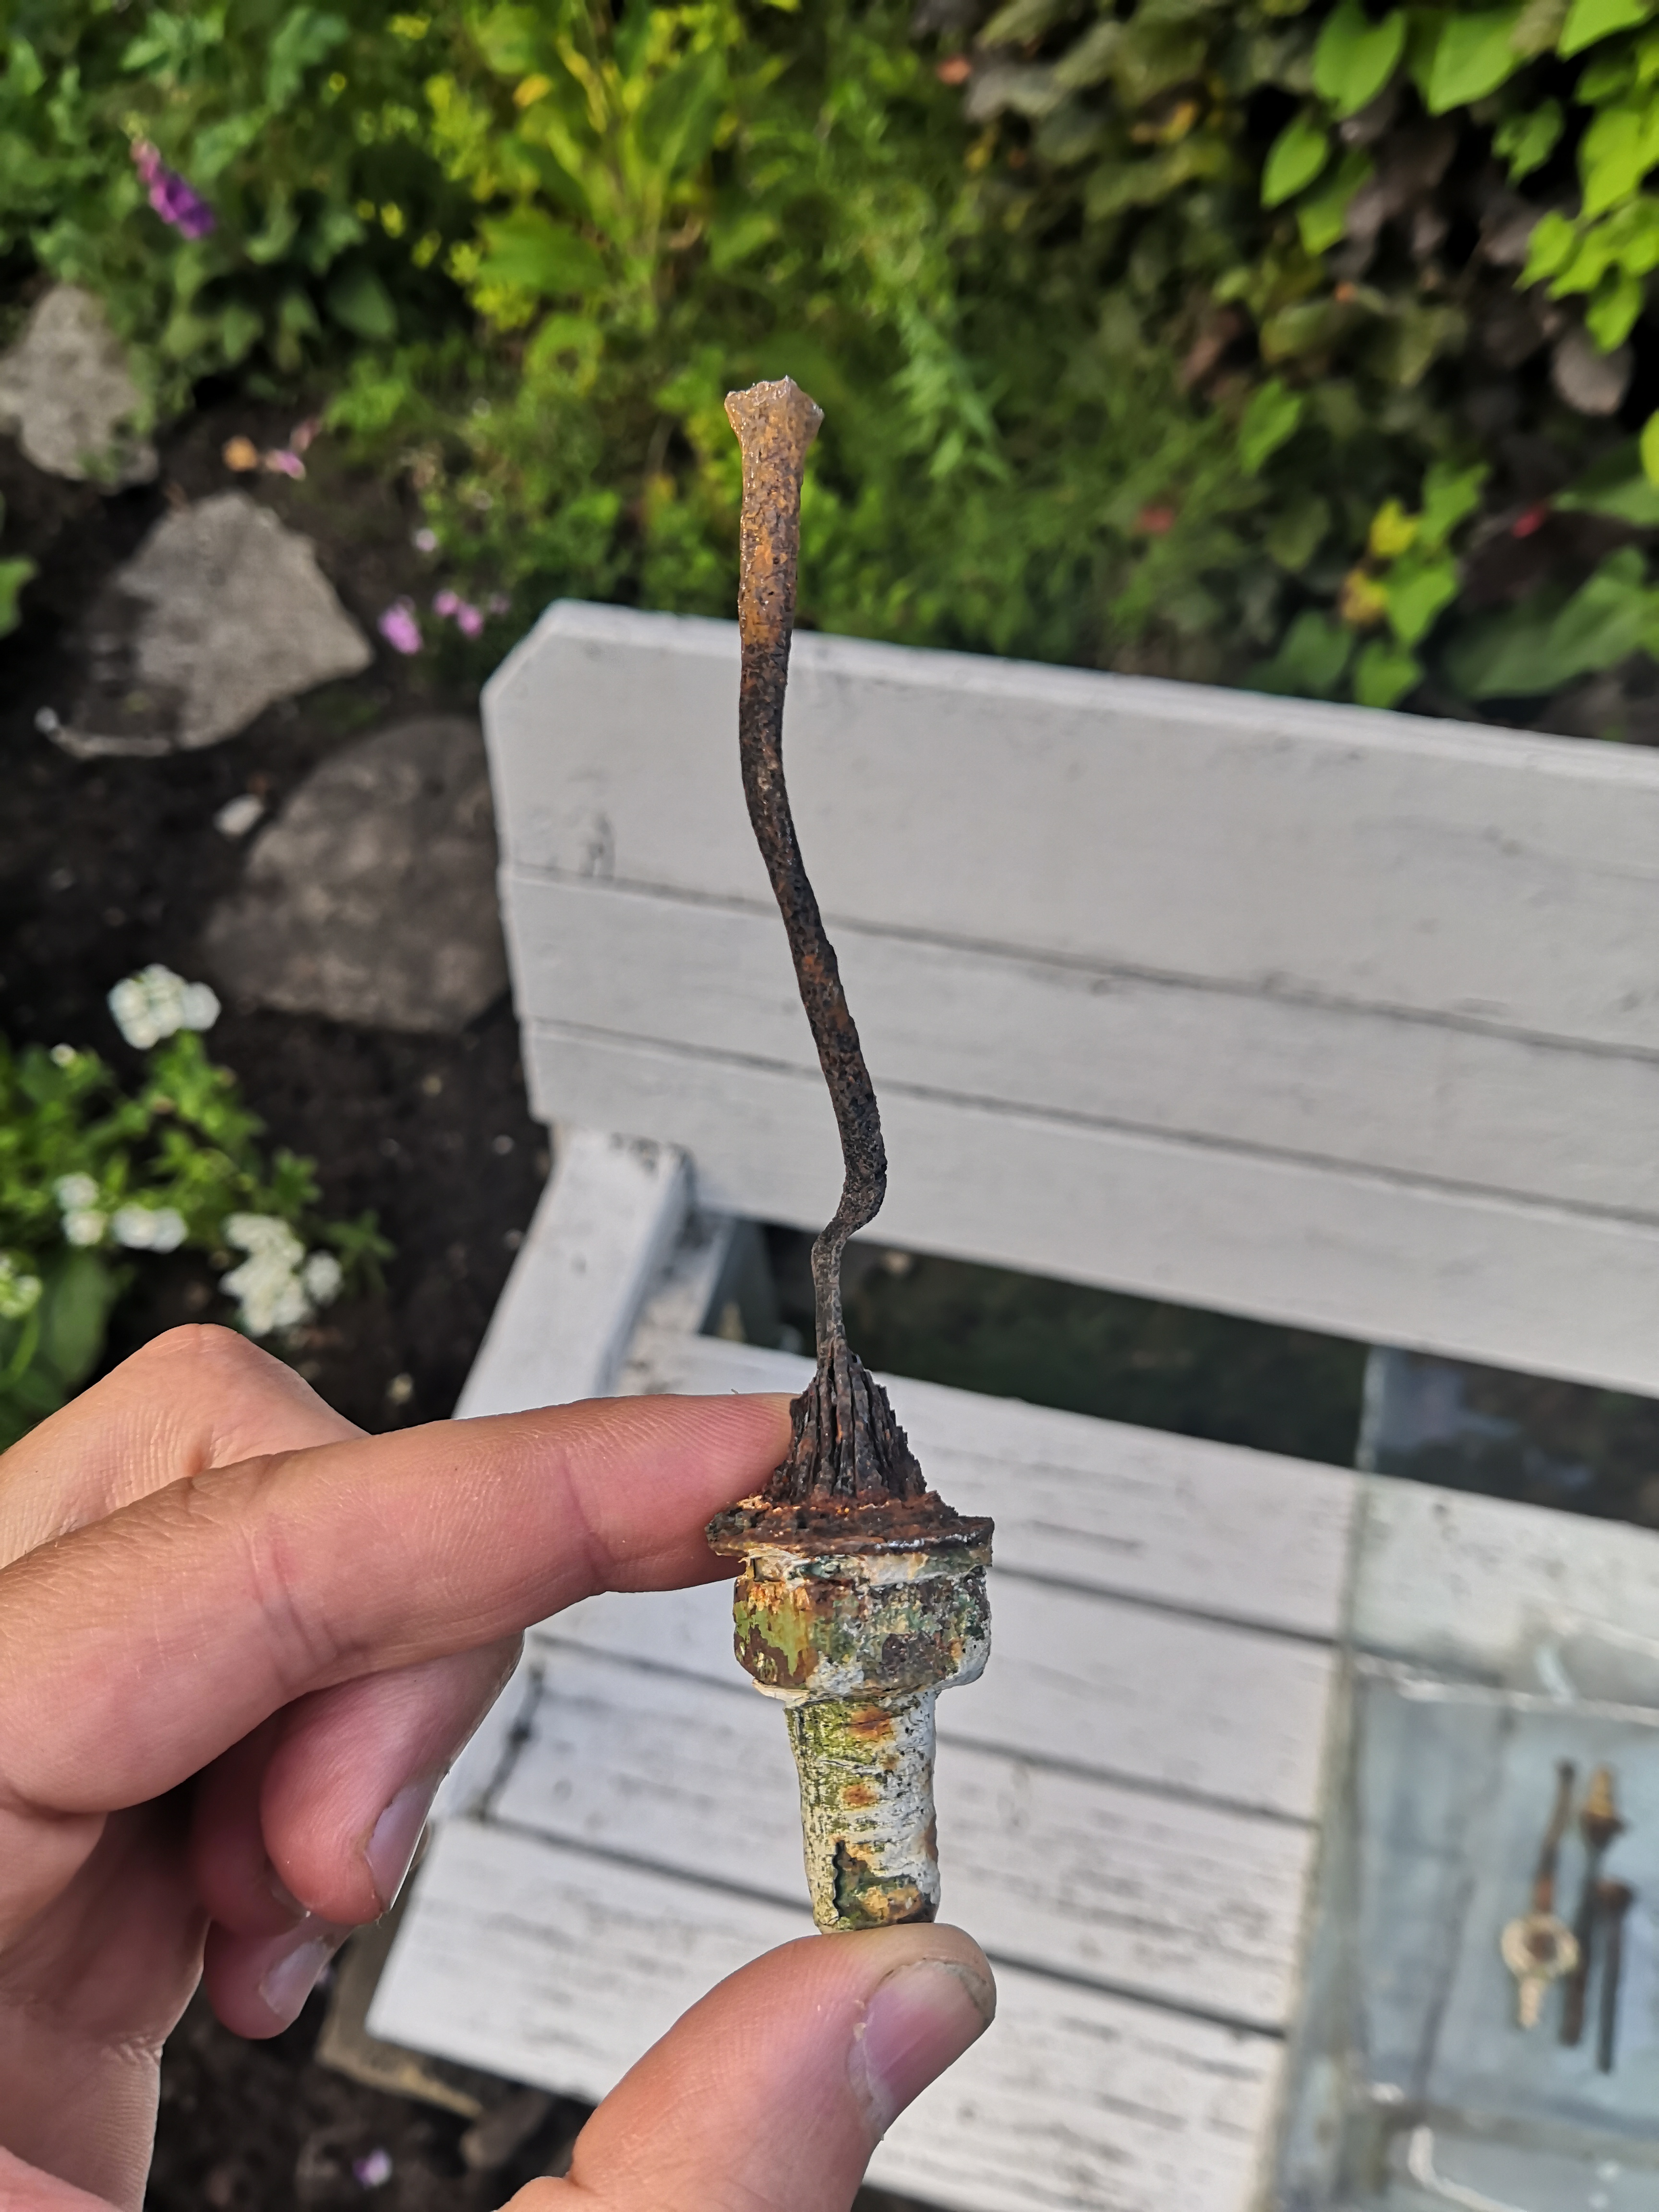
Finally after several weekends of hard work I managed to have the structure down. I managed to save most of the wood and the pieces that couldn’t be salvaged I measured carefully so that replacements could be made.
Watch out for the next blog post for the next stage of the build.