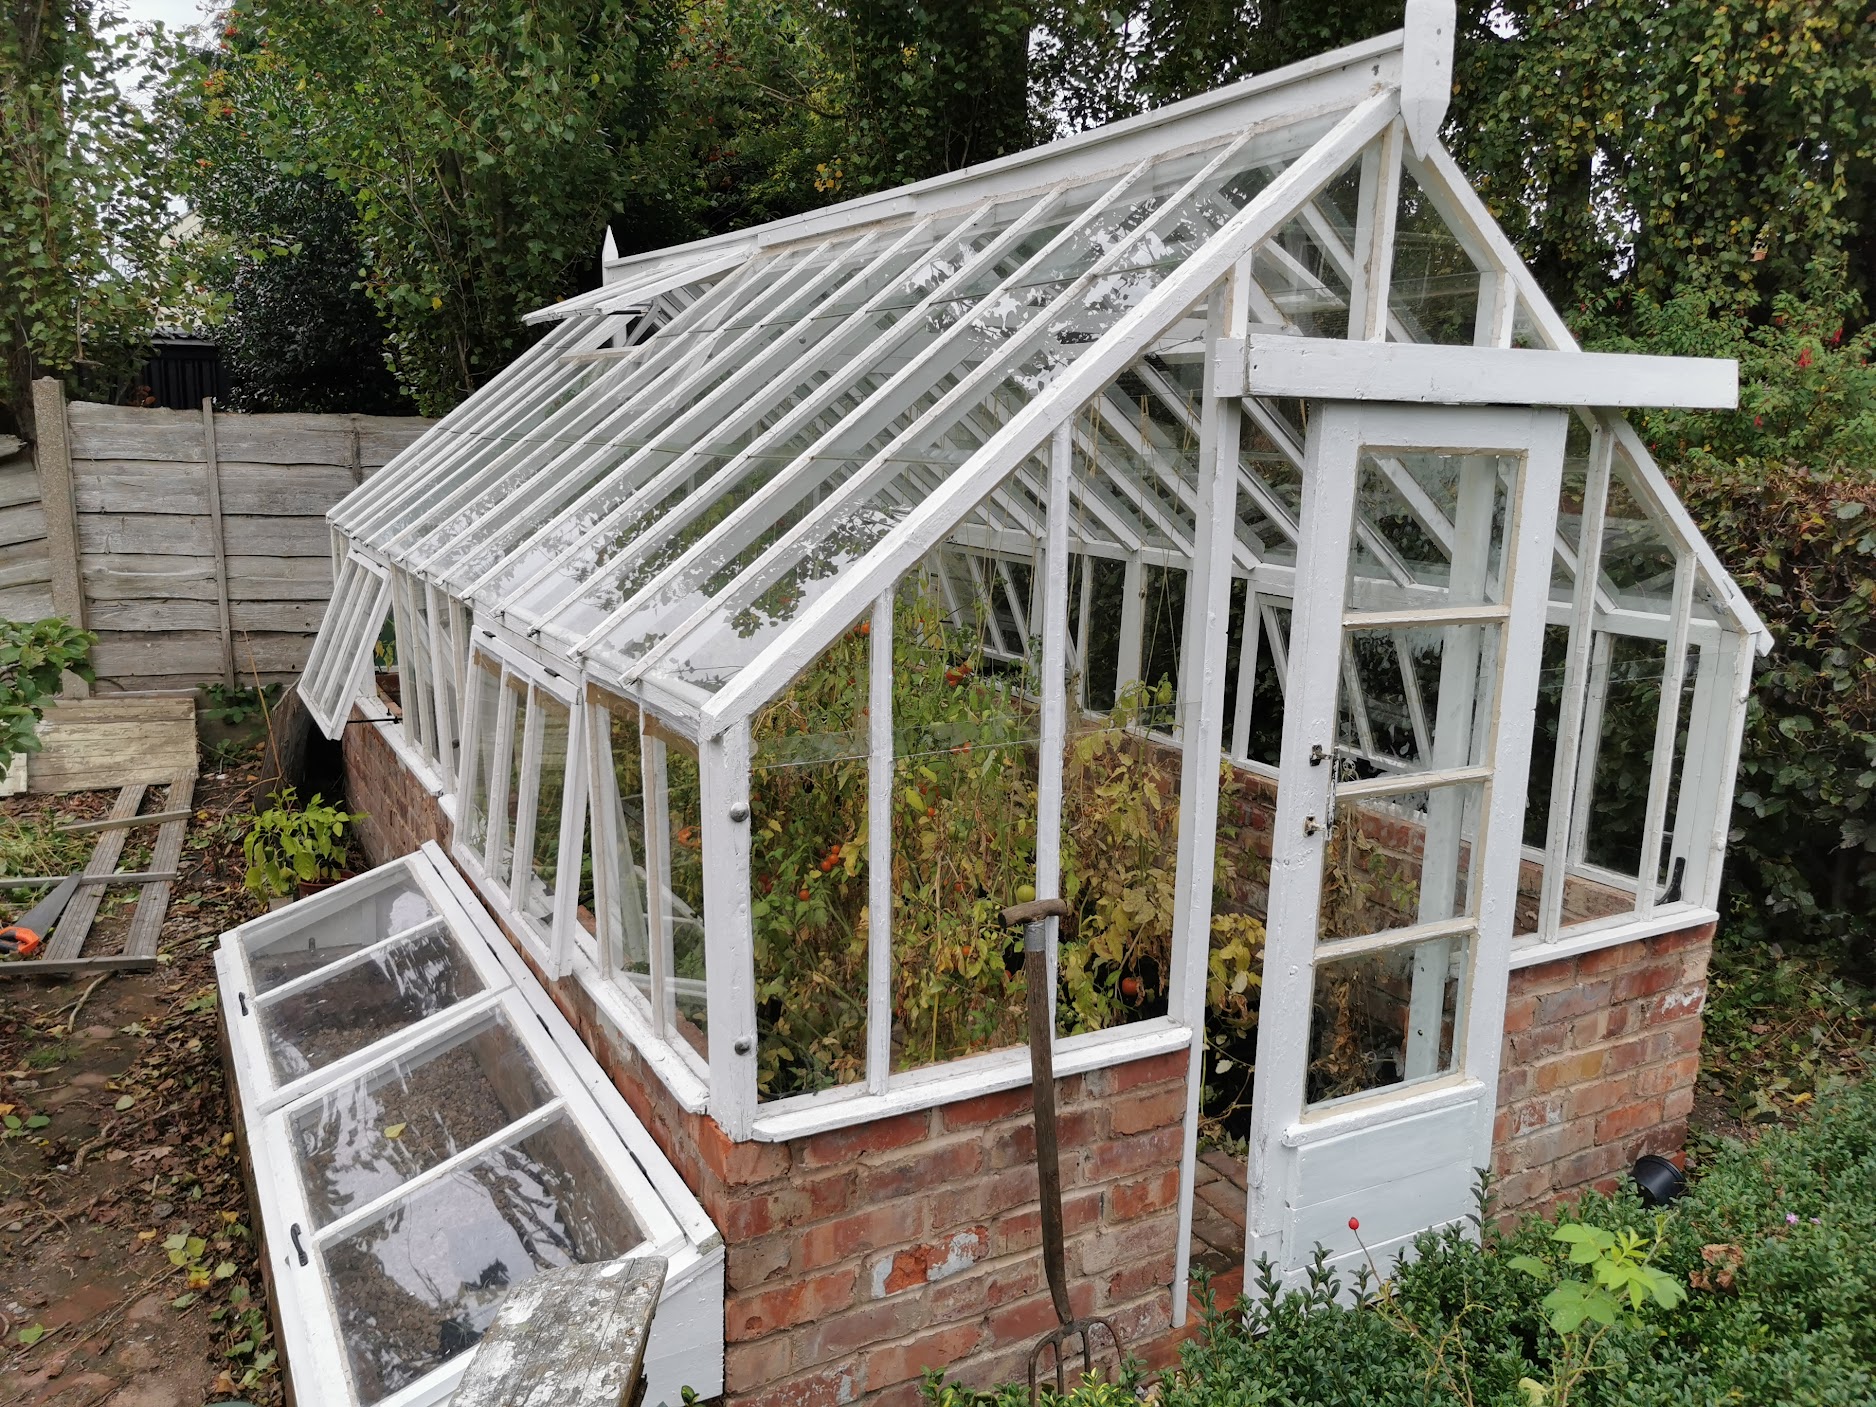
Restoring a Greenhouse - Part 2
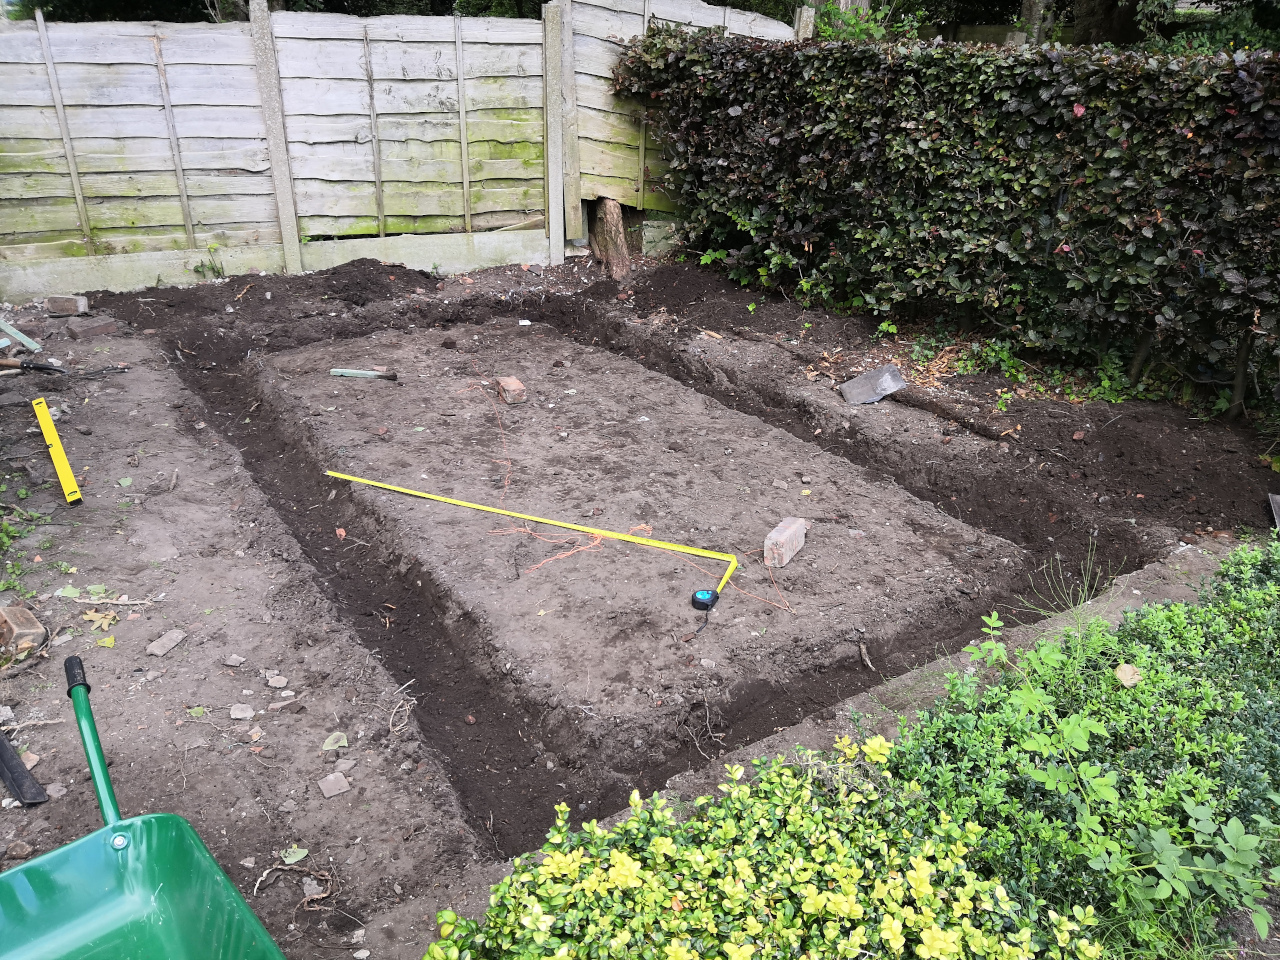
Preparing a foundation
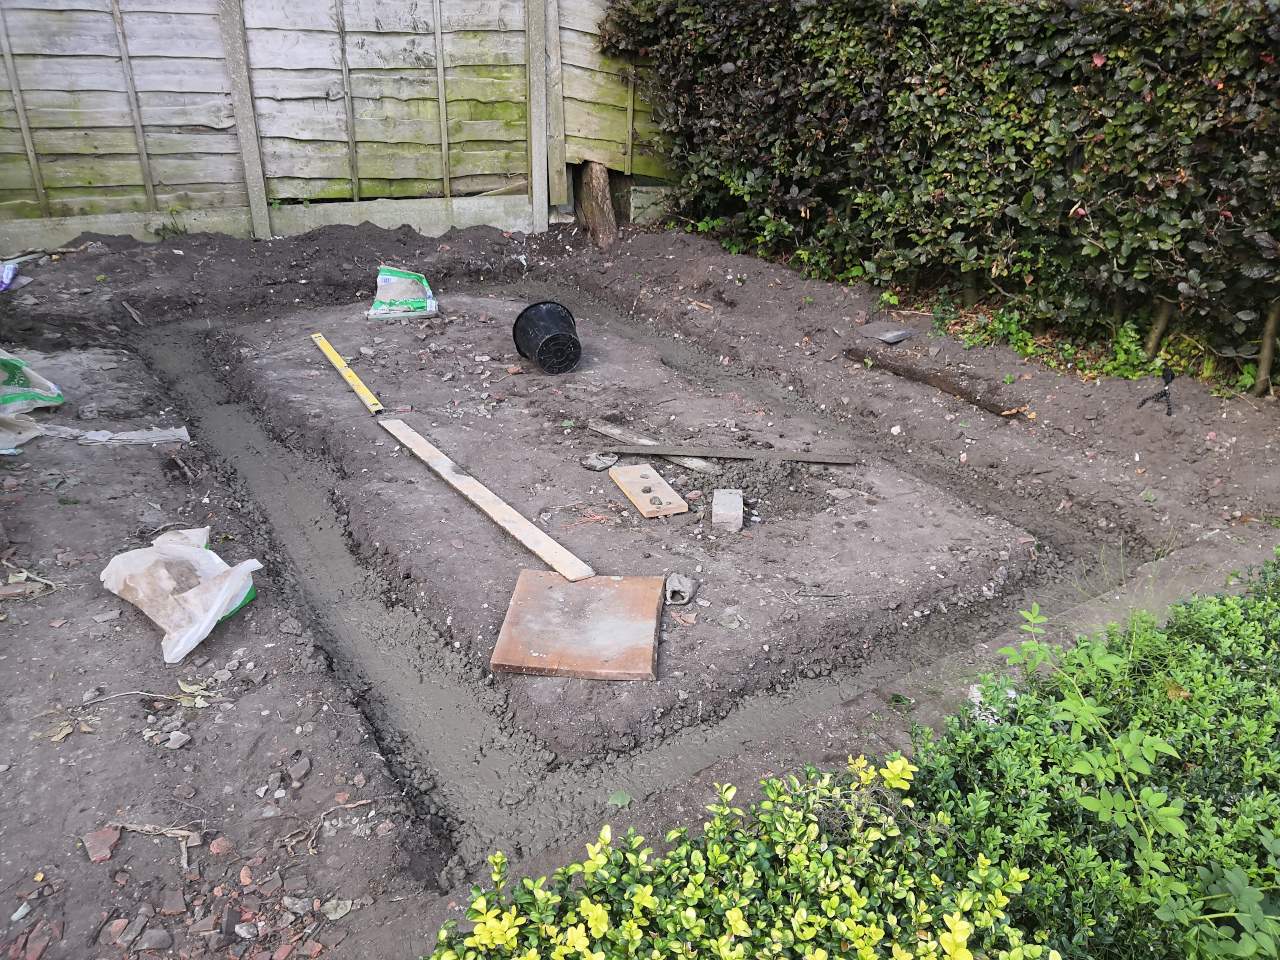
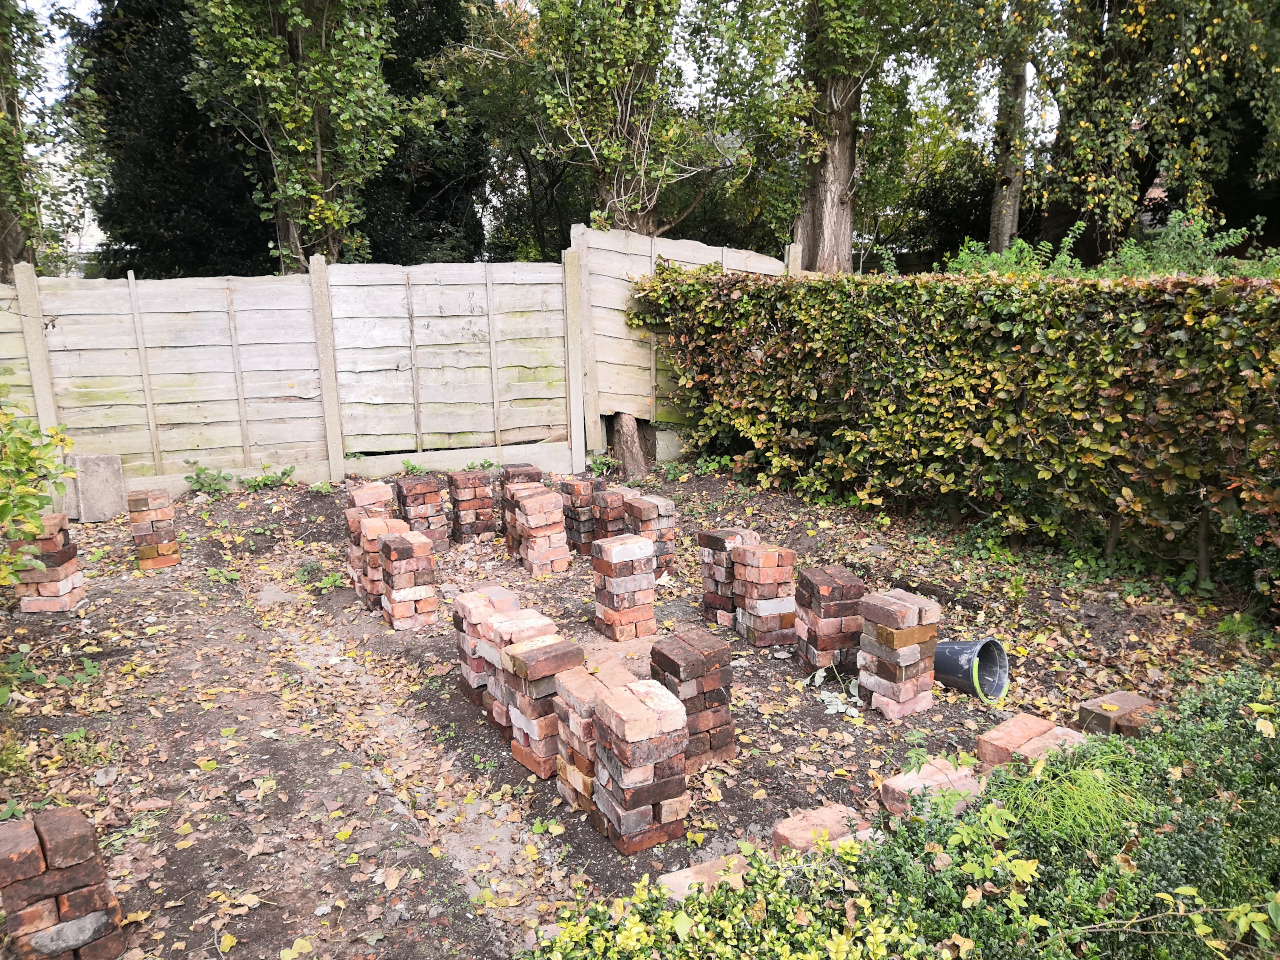
After measuring up the coordinates the first step was to dig a 1-2ft wide and 1-2ft deep trench to fill with concrete to give a solid flat surface for laying bricks on. This was easier than it looks given that the trench has to match precisely the dimensions of the intended brick wall and there were tree roots to avoid. To make matters worse I decided to mix and pour the concrete on one of the hottest days of the year, meaning that the concrete became unworkable after a short period of time.
Building a dwarf brick wall
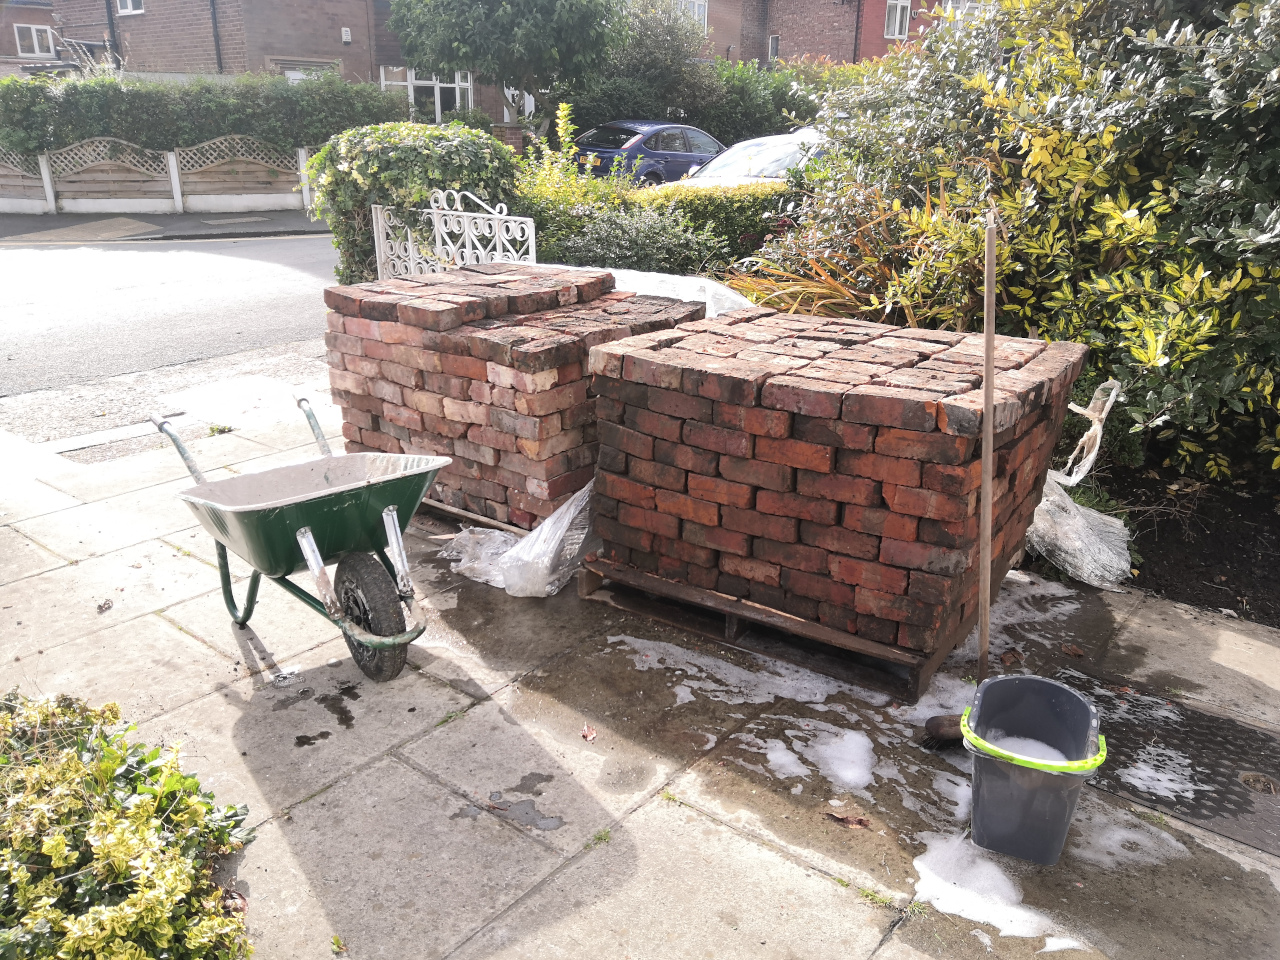
Next is the exciting part, building the brick wall of the new greenhouse. I ordered 2 x 400 brick pallets from a seller on facebook marketplace. £200 each, so £400 in total. I had calculated I would need about 600, so there was plenty of margin for error. It was a cheap price and as a result they were fairly cheap bricks; some of them broken, many painted red on one side and one of the pallets was covered in mud ( presumably bricks salvaged from underground somewhere ). None-the-less I was able to clean them up and transport them down to the bottom of the garden for laying.
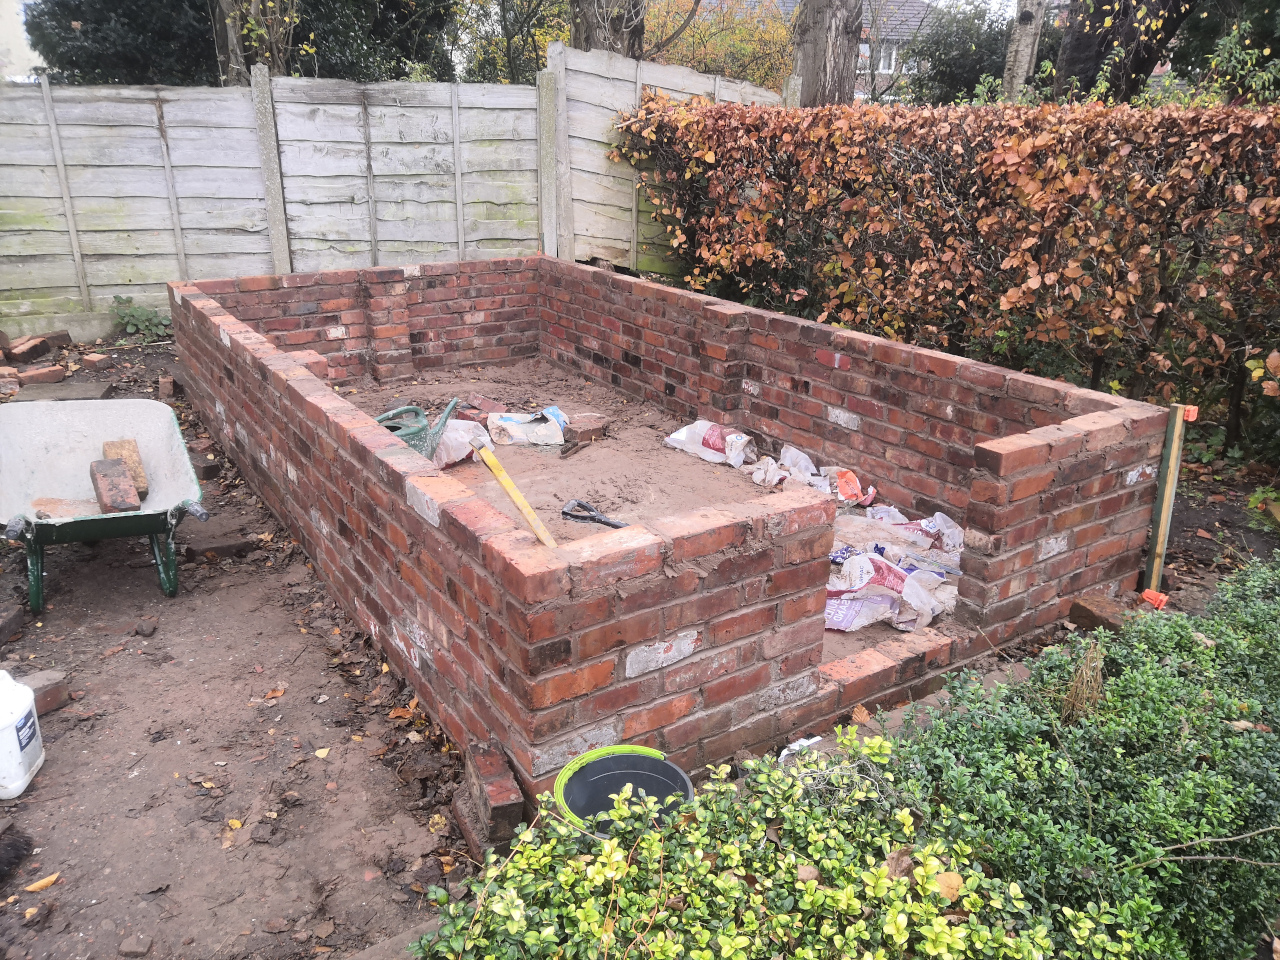
I enjoyed thoroughly laying the bricks and watching a greenhouse shape slowly start to appear. I placed 3 pillars along the stretches of wall to provide more support and tried to make it as level and as plumbed as can be. It took several weeks and I just finished before winter of 2020. All in all, i’m pretty happy with how the wall turned out.
Restoring and erecting the woodwork
Over winter I was able to work on the wooden frame of the old greenhouse. Much of the old wood was salvagable, in particular the end-piece nearest the fence, this is because this section had been sheltered from rainwater by the trees. It was a long and laborious process since there were countless rusted screws and nails embedded in the wood, and in some cases I had to bond new and old wood together with epoxy.
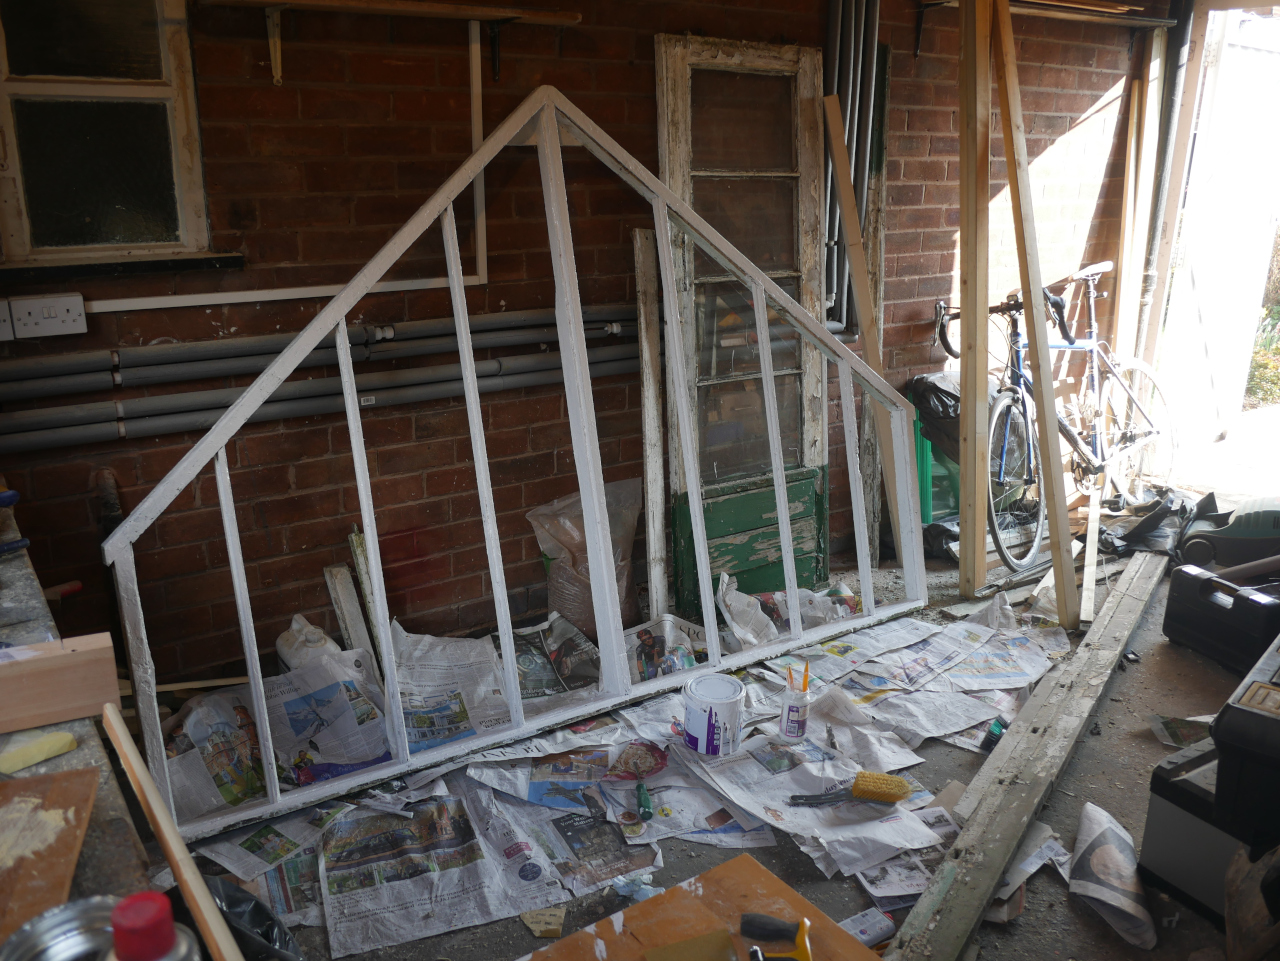
I even had to make 4 windows from scratch since the old ones were beyond repair.
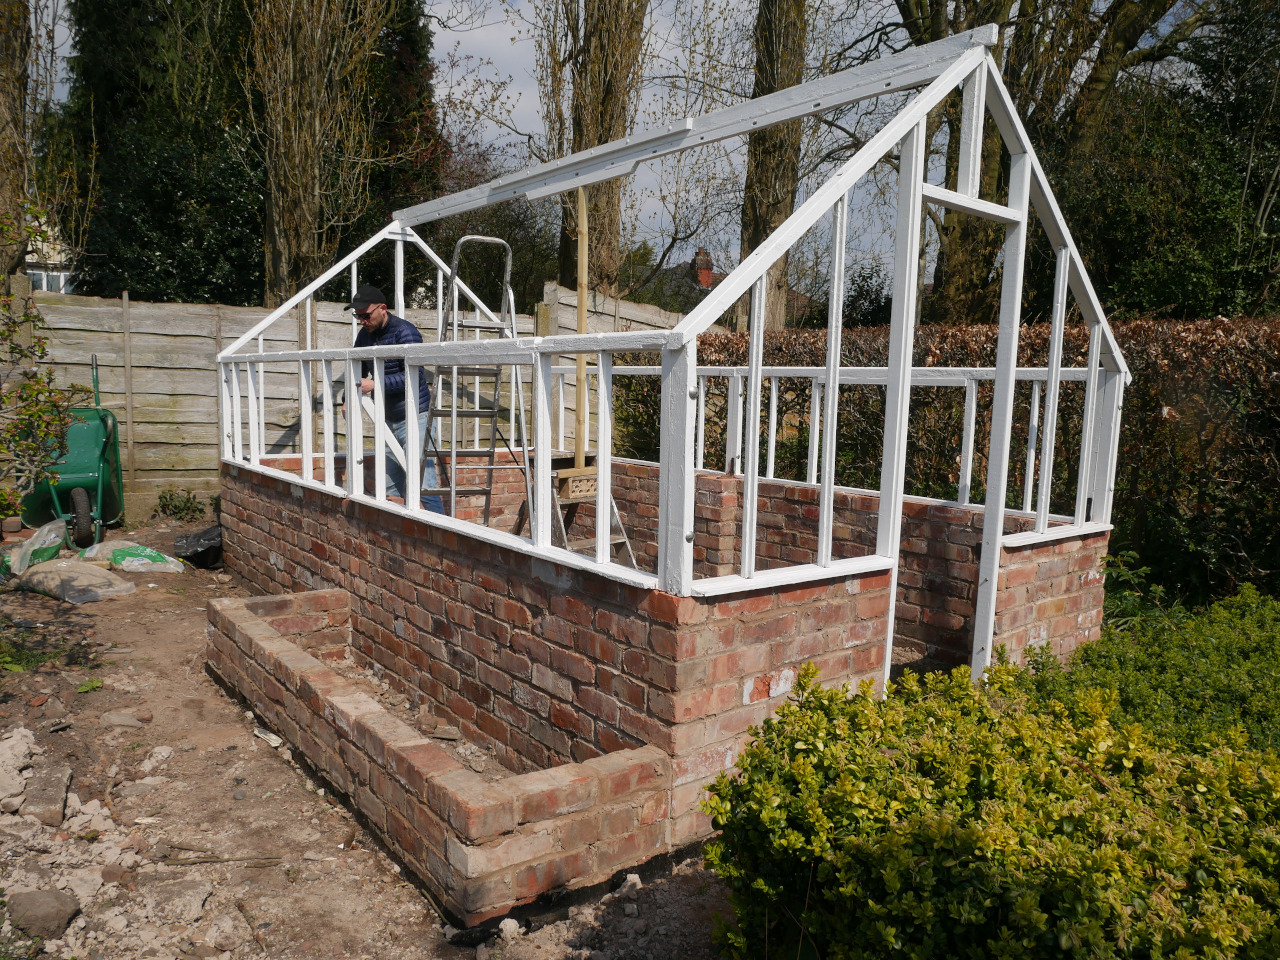
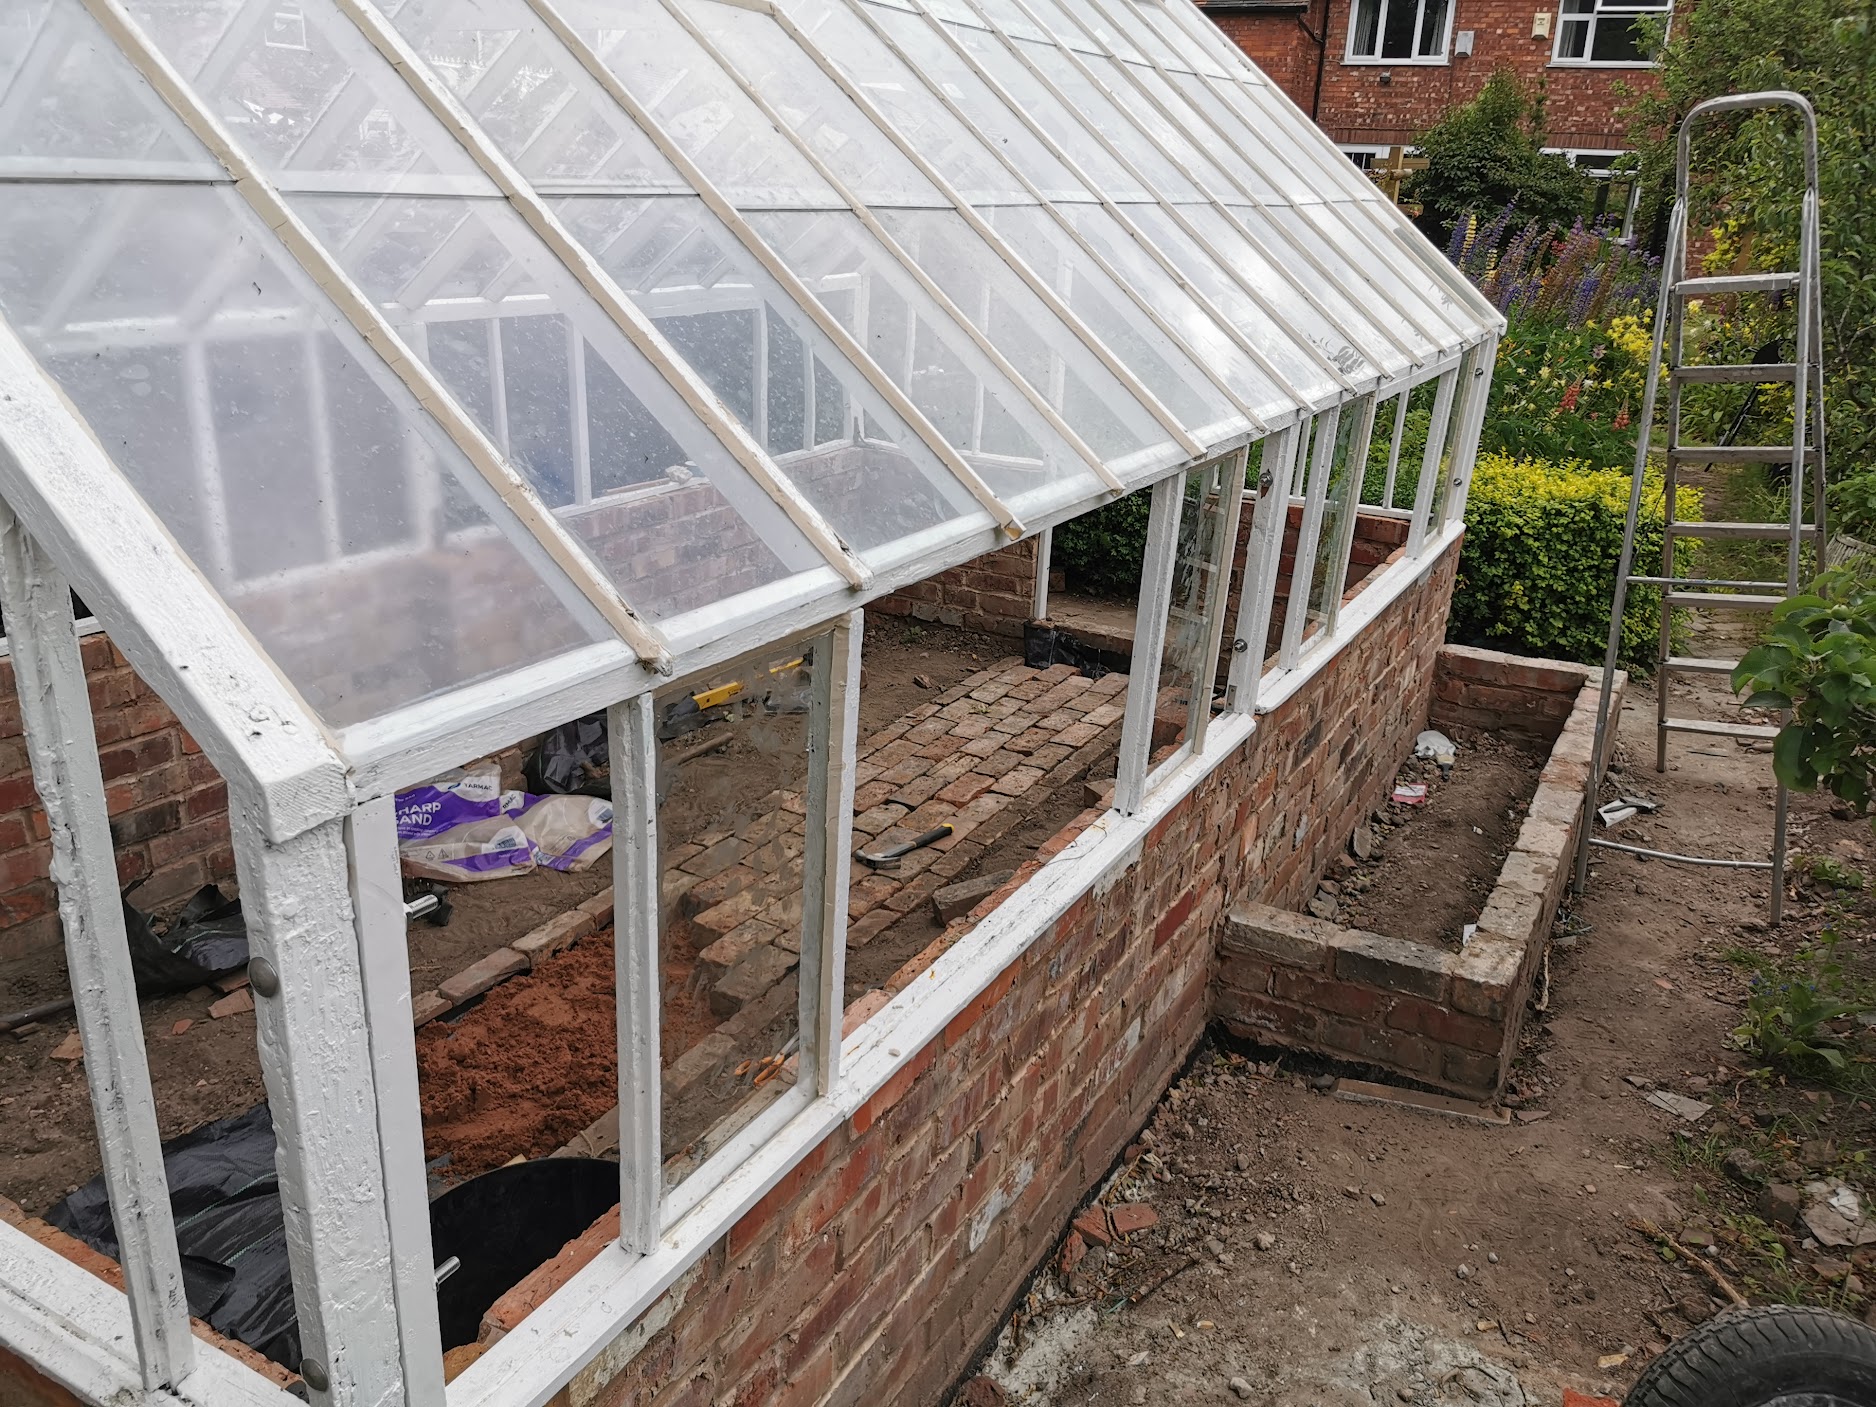
Erecting the wood was a simple and enjoyable process. The frame was secured to the brickwork at the door-frame and then using a large iron bracket at the centre pillars.
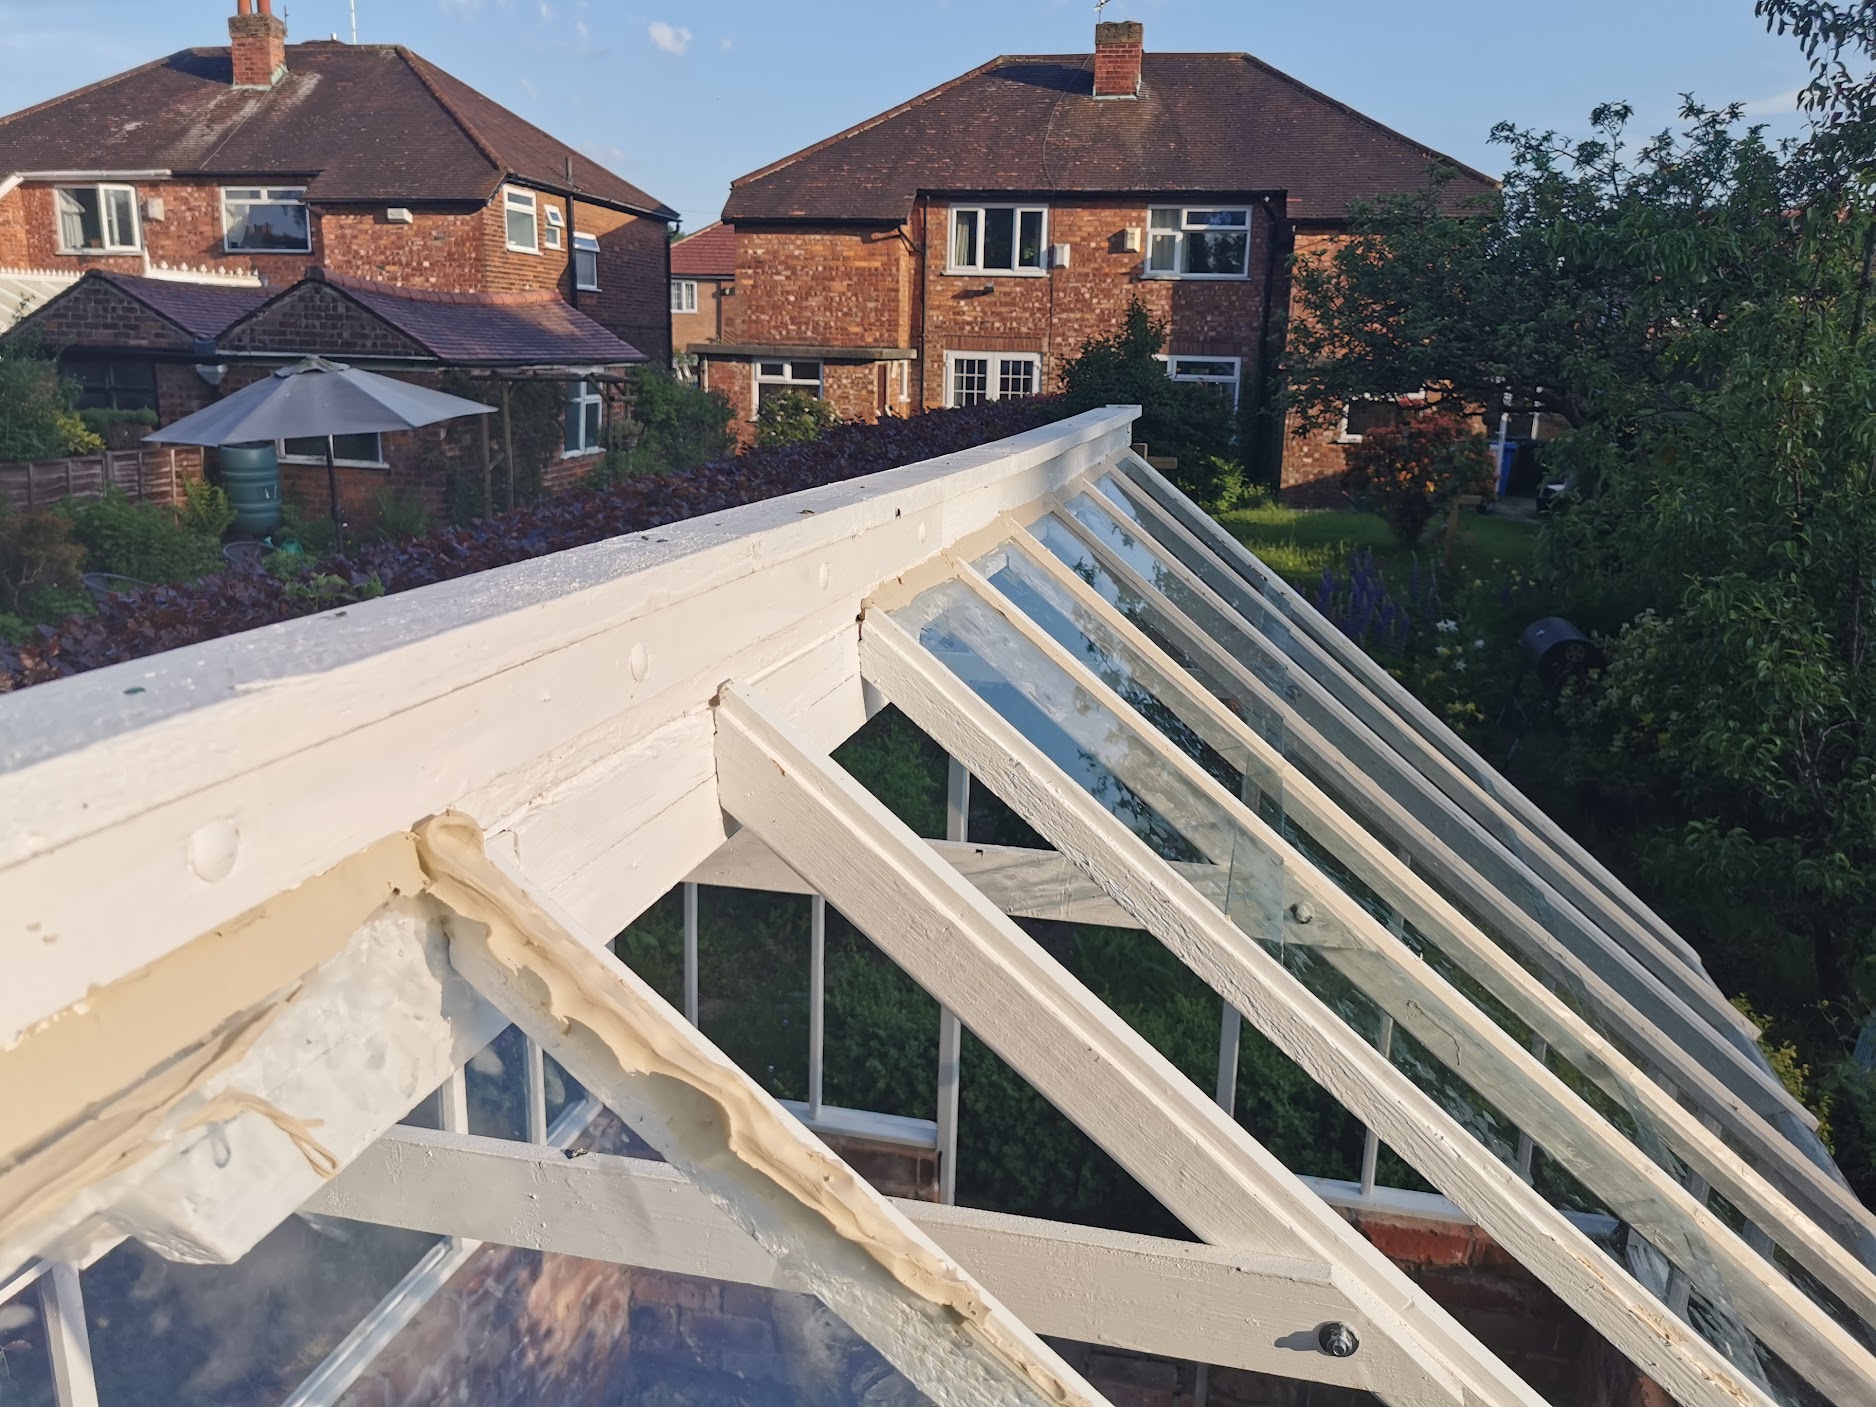
Adding the glass and wooden floor
Installing the glass was another tedious job. Fortunately most of the panels required were 2ft x 1ft so for the most part a single cut of a 2ft x 2ft glass sheet was required. The puttying was fun at first but it’s not quite the same after putting in about 100 panels. Probably the most difficult part was the putty along the roof section where access was severly restricted.
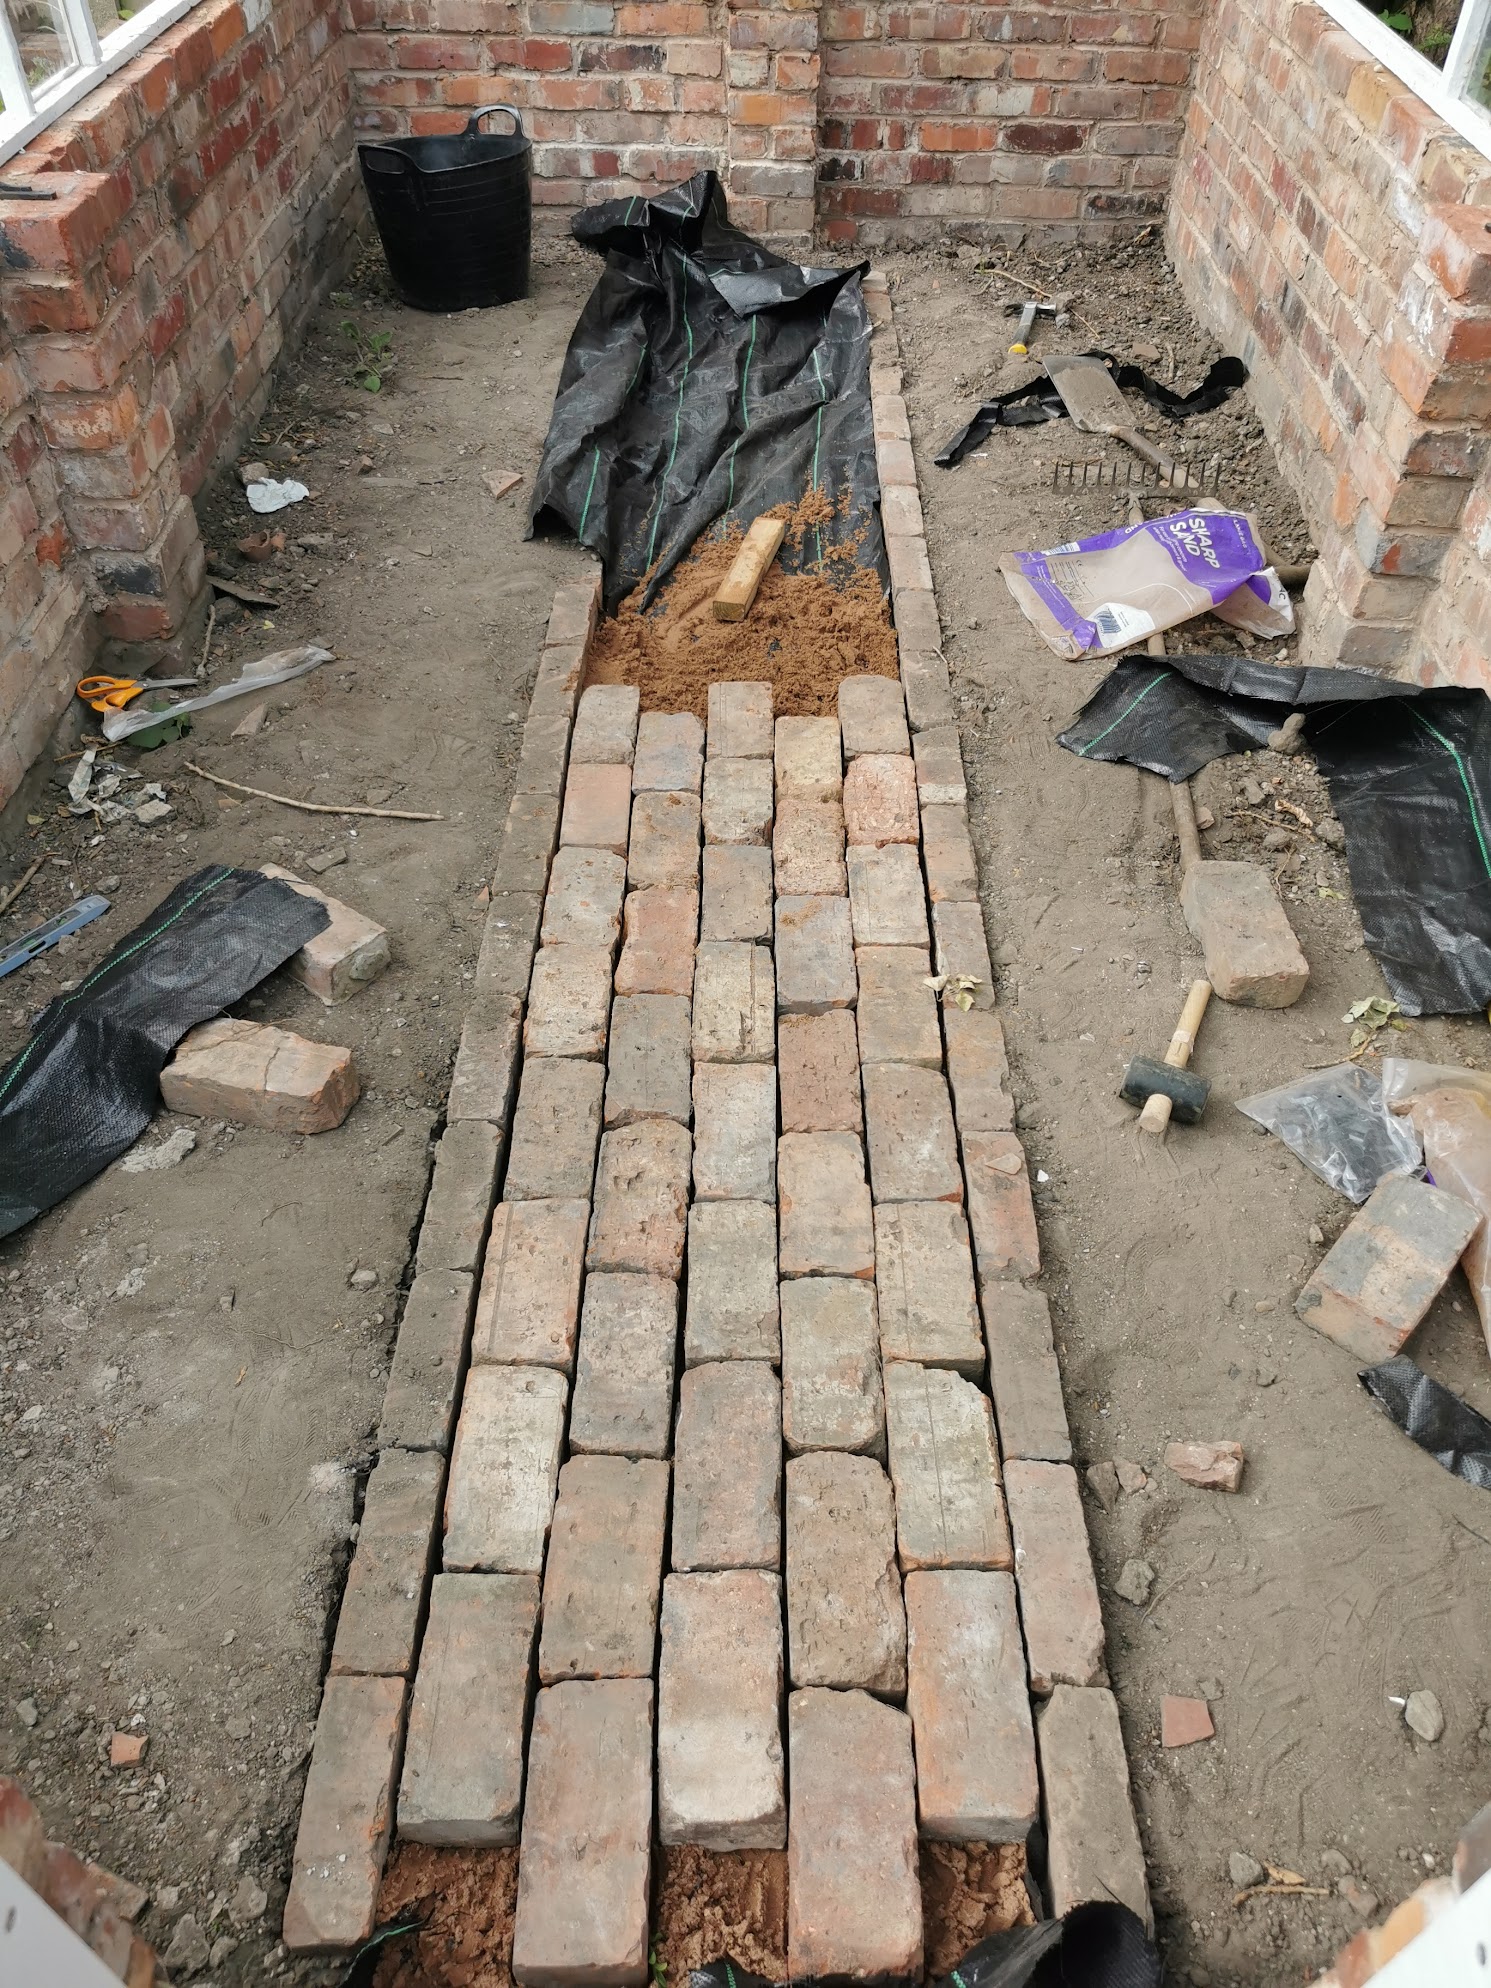
Finally I dug a small trench and laid it with a weed membrane and began to lay some of the unused bricks down to make a path down the middle of the greenhouse. The final touch was gravel along the edges which made it really look like a working greenhouse.
Job Done
As of Oct 2021 the door has finally been put into place and i’ve had a successful run of tomatoes, sweet peppers and cucumbers this year. A laborious and expensive job but one that was well worth the effort.